Hello lovelies. I'm so happy to be guest designing this month for Coffee Loving Cardmakers. I've been a "card carrying member" practically since the formation of this beautiful, caffeinated community. I chose to create with products this month that highlight some of the super sponsors of CLC. They're the backbone of this community, giving of their time, money and support through the years. If you've ever participated in one of the sponsored blog hops, then you know! I'll have creative and technical tips for using my digital designs today. Scroll down for more.
(FTC Disclosure: as an affiliate for various companies in the craft industry, I will receive a small commission for purchases made through my convenient affiliate links, at no additional cost to you.)

Today's card features Angie Blom Digital Designs. If you've never tried creating with digital designs before, I've got some tips below that I hope will give you a confidence boost to give it a try! I adore Angie. She's a sweetheart, very encouraging and engaging with her followers, and uber talented!

Angie recently released a gorgeous floral collection, Beautiful Self Daisies. When I saw this pretty design, I HAD to color it! I've also been in a serious tea phase for a good 6 months now. Like, obsessed with all the hot teas. My current obsession is the Mexican Hot Chocolate Tea from Old Barrel Tea Company. My friend Janis Ford, also a CLC fan, introduced me to this brand and I love it.
Here's a shot of my first "sip" below, but it's even better with cream and sugar!

(So yes, inspiration for this tea themed card came from many directions!)
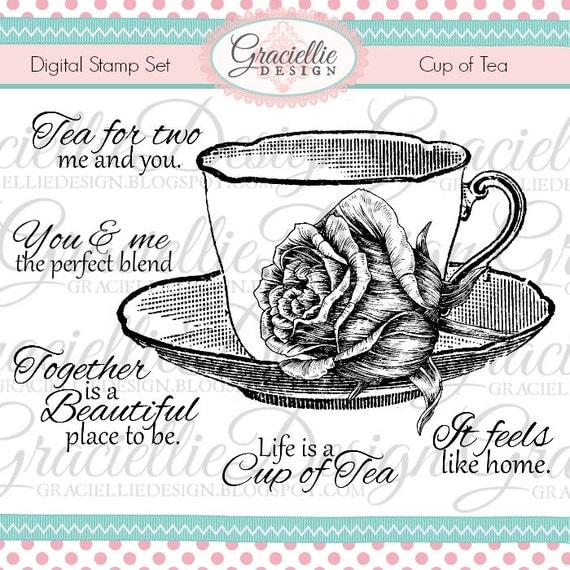
I've got several of Angie's designs that I've purchased over the years, but didn't have any tea cup designs downloaded that would work with what I had in mind, to pair with the florals. So, shopping I went. It didn't hurt that Angie was having a sale too, wink wink. I promptly found the Hot & Steamy collection with those pretty floral teacups and in my cart they went.

Let me share some brief creative details first, then you'll find some technical aspects further down. I colored my images with Copic markers. I find the best price on these artist markers at Scrapbookpal.com. I went with browns for my vase, going with earthy colors to ground all my other bright tones. Not gonna lie, I'm kind of crushing on that vase!
I also decided to have my tea cup coordinate with my floral blooms and used a lot of yellow on my cup, to tie in with the bit of yellow on the bloom centers. I also used a fine point black marker to add dotted embellishment on my leaves.

Here's the breakdown on my marker colors:
Leaves: YG11, YG25, G99
Flowers: BV000, V12, V15, Y02, Y11, C7
Vase: E11, E33, E37
TeaCup: Y02, Y11, V12, V15, YG25
My card panel is also adhered to a colorful gingham patterned paper from Sunny Studio Stamps. I wanted just a tiny pop of color peeking out, to keep my card dimensions from being too large. Luckily, I have my We R Memory Keepers envelope punch board so I can make a custom envelope to go with this card.

Now for the technical process. I use Microsoft Word on my desktop computer to work with my digital files. Below are some key tips for working in Word. Keep in mind, I printed this on a full sheet of heavyweight white cardstock using my Canon Pixma printer. You can customize your page layout to A4, A2 or other card dimensions, but for this design, I chose to go a little larger with my dimensions and print on a full sheet of cardstock, then trim down my printed image. My trimmed card panel measures larger than an A2 card at 4.25 x 6 inches. I will often set my margins to 0" and do offset printing, but didn't do that this time.
Tips:
* From the Word toolbar, tap "insert" then "picture" to load graphic image.
*Make sure to upload the png files to your document, not the jpeg files, when working with multiple images. The png files have a clear background around the image which is necessary for layering multiple images.
* To move your images around on the screen, left click your mouse/cursor on your image. Next, right click with your cursor on the image and select "wrap text", then scroll over and select either "Behind Text" or "In Front of Text". (My flowers are "in front" while my other images are "behind". Play around with the wrap text settings to determine what works best.
*To resize the image at any point, left click again on the image with your cursor, then click and drag a corner point to re-size larger or smaller. To rotate your image, move the "pin" at the top of your graphic box with your cursor (see circled image below).
.png)
I also used Angie's Mixed Media Elements collection. I used the png "Smear" to create a table top style element. The smear image is tapered on one end with a flat edge on the opposing end. I pasted two of these images, rotating one of them and lining them up side by side, overlapping them a bit. I wanted tapered edges on both ends to give a tabletop appearance for my flowers and tea cup. I resized them, stretching them to be smaller and wider. The placement of my vase and teacup, masks where the flat ends of both smears meet, giving a more fluid appearance. That's what I love about digital images. You can get really creative and change the dimensions to fit your needs.

The 4th digital image added to my scene is the "splatter", also from the Mixed Media Elements collection. I loaded two of those graphics to my scene, rotating them to suit my needs. If you love having paint splatter on your cards, this gives you that look with no mess! I love it!

I'll be sharing a 1 minute or so speed reel later today on my Instagram and Tiktok, showing how I colored my flowers. I like to call it a swish and flick technique, straight from Harry Potter, haha. I flick my darker colors on the blooms with my Copic markers, then edge the petals with a white gel pen, swiping the wet gel inward with my finger.
I'll be sharing a project every Friday in the month of April so be sure and check back and stop by the CLC site and leave some love.
Let me know if you have any more creative or technical questions, in the comment section.
Thanks so much for stopping by!
Terri
#wavingmywand #coffeelovingcardmakers #coffeelovers #tealovers #angieblomdigitaldesigns #cardmaking #teacards #coffeecards #teacup #diycards #flowers #beautifulblooms #mixedmedia #digitalcards #digitaldesigns #scrapbookpal #copicmarkers #cupoftea #patternedpaper #sunnystudiostamps #angieblom #oldbarrelteacompany #mexicanhotchocolatetea