Showing posts with label masking. Show all posts

Saturday, December 2, 2023

Star of Bethlehem Christmas Card

I'm sharing this one layer Christmas card with ink blending and masking featuring the "Unto Us" stamp set from Erin Lee Creative. When I saw this set from the new release, which reminds me so much of a continuous line drawing, well....I had to have it! Plus, I absolutely love making scripture Christmas cards.


(FTC Disclosure: as an affiliate for various companies in the craft industry, I will receive a small commission for purchases made through my convenient affiliate links, at no additional cost to you.)


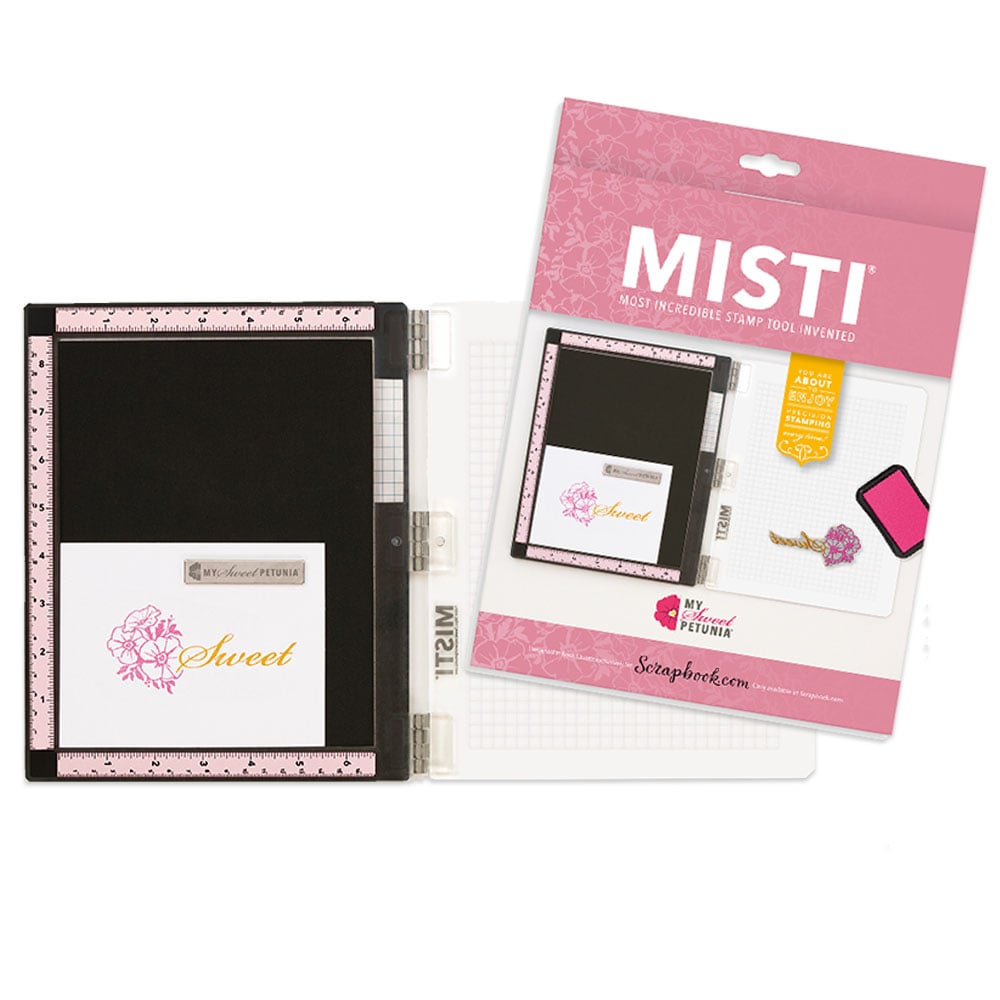
I started by stamping my image on an A2 size card panel using my Misti stamp positioner. Leaving my stamp in place, I then laid down a wide strip of my Mint tape. It's a slightly tacky tape that's repositionable, and you can cut stamped images on it for masking.

I trimmed as much as I could with my scissors and lined it back over my stamped card panel.  There's a spot in the very middle near the shepard's staff that needed removing though, so I grabbed my craft knife and gently trimmed that section out. The mint tape is very thin so if you don't apply too much pressure trimming, it shouldn't cut your card panel.


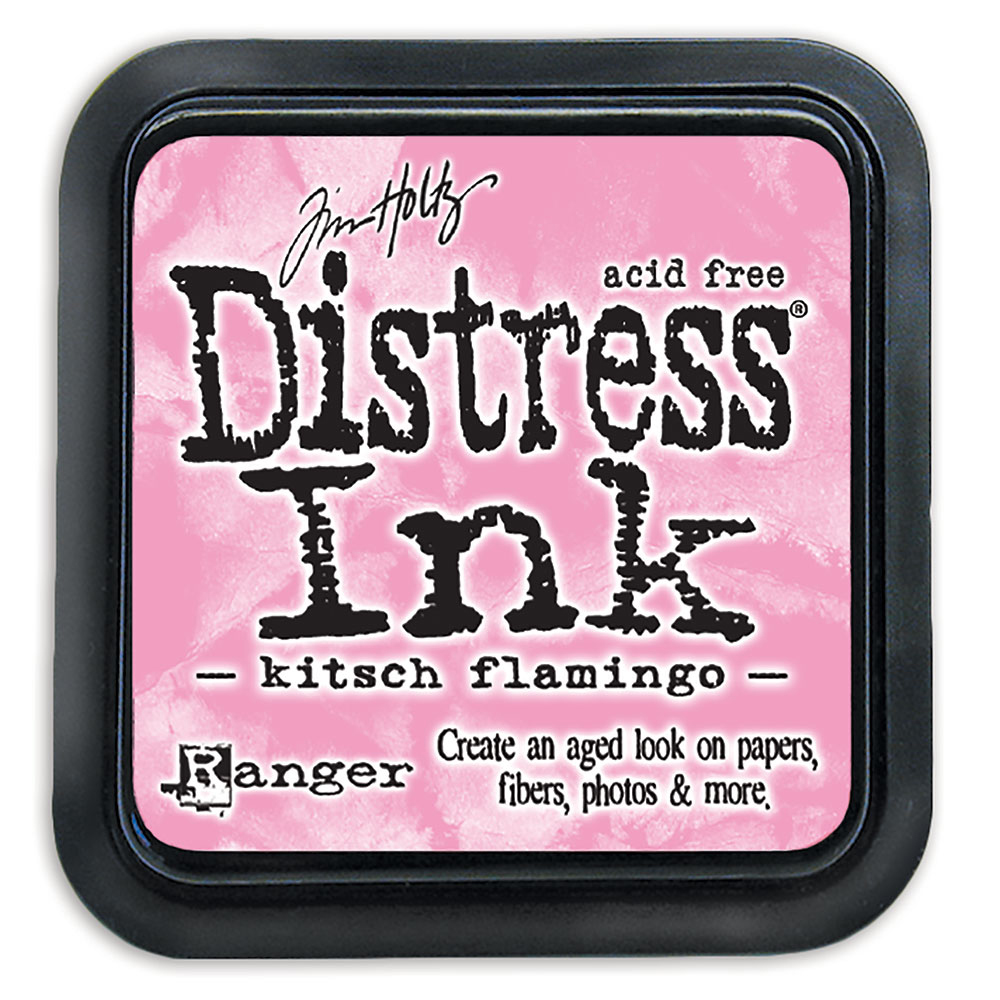
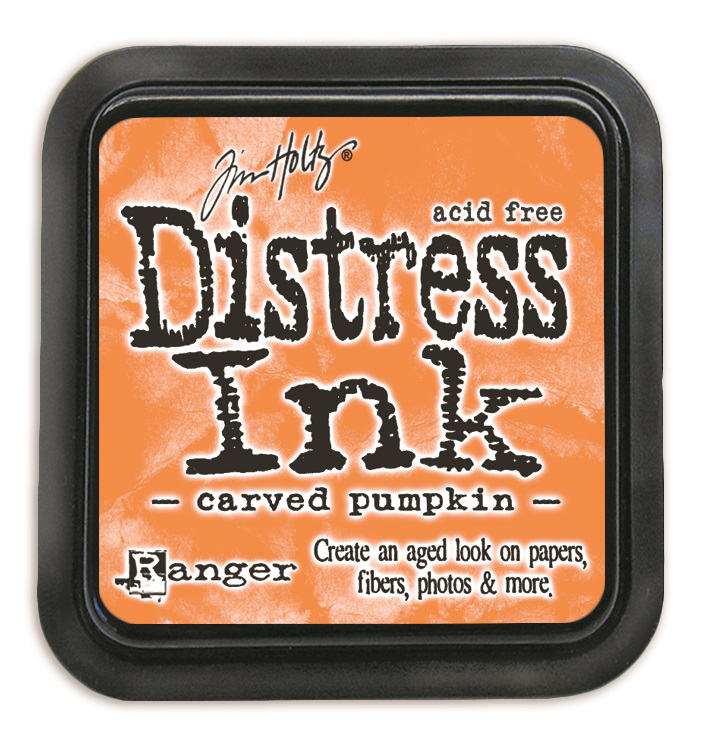
Next, I ink blended my scene with 4 different distress Ranger Inks; Fossilized Amber, Carved Pumpkin, Kitsch Flamingo and Prize Ribbon.

Once finished, I peeled  of my masking tape.


I used a variety of gray and brown/tan Copic Markers to color my shepards and orange/yellow for my fire. I also drew out and filled in some black below the scene and another strip below that to create a rocky, sand-like base. Basically, I'm experimenting! But I do like the look.


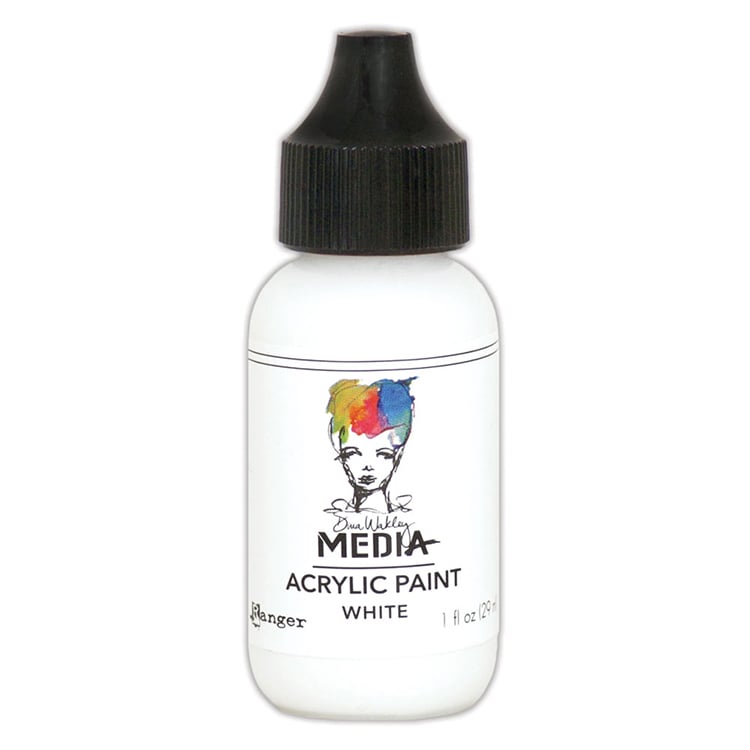
I stamped my scripture sentiment next. There are 2 scripture sentiments included in the Unto Us stamp set. Lastly, I heat embossed the star included in this set, then dotted lots of stars with acrylic white paint and some Stickles glitter glue. I even painted in a few comets, dipping the sharp end of my weeding tool into the paint and swiping onto my sky.


I also used my white gel pen to make some dots around my fire flame and logs to represent sparks.

I appreciate you stopping by and if you'd like more information on the products used today or would like to shop, I have convenient affiliate links provided to you below, at no additional cost. 

I hope you have a wonder holiday season!

Terri

***********************************


Dina Wakley Heavy Body Acrylic Paint, white
Shop at:
Scrapbookcom
Neenah Card Front Solar White 5.5 x 4.25 inch 25 pk
Shop at:
Scrapbookcom
Scrapbook.com Premium Clear Embossing Ink Pad
Shop at:
Scrapbookcom
Scrapbook.com Hybrid Ink - Black
Shop at:
Scrapbookcom
Wendy Vecchi Makeart Non-stick Craft Sheet
Shop at:
Scrapbookcom | Ranger Ink
Shop all Copic Markers at ScrapbookPal!
Shop at:
ScrapbookPal
Ranger Heat It Craft Tool
Shop at:
Scrapbookcom | Ranger Ink
Neenah A2 Vertical Card/Envelope Set 25 pk
Shop at:
Scrapbookcom
Refillable Permanent Adhesive Runner - 49 feet
Shop at:
Scrapbookcom
Dina Wakley Heavy Acrylic Paint - White
Shop at:
Scrapbookcom
Mint Tape 4 inch roll
Shop at:
Scrapbookcom
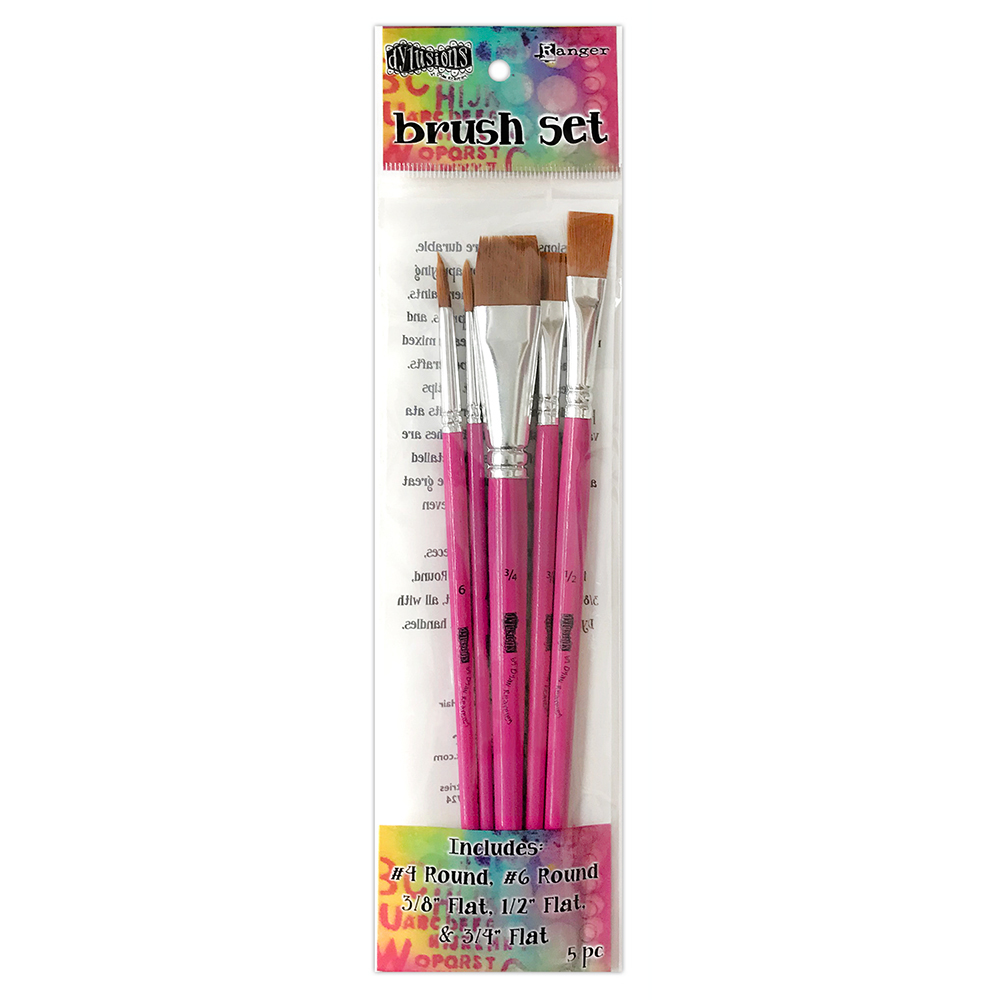
Dylusions Paint Brush Set
Shop at:
Scrapbookcom
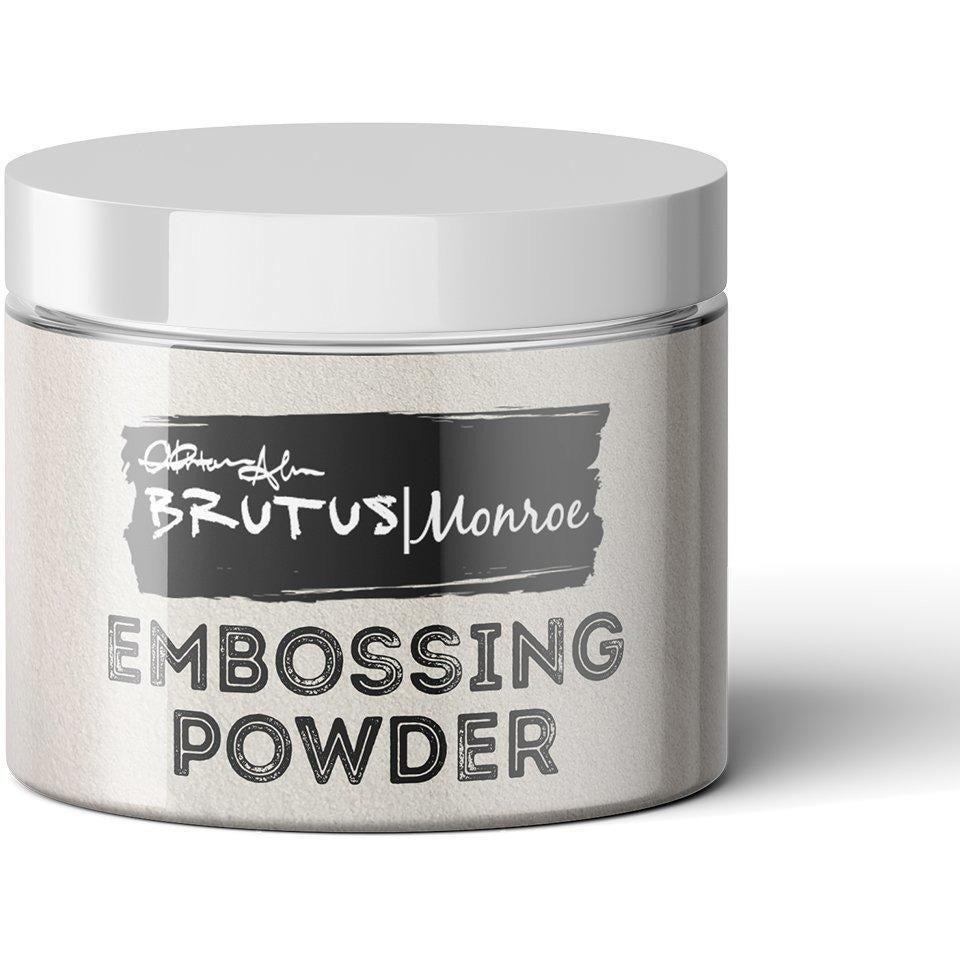
Brutus Monroe Alabaster Embossing Powder
Shop at:
Scrapbookcom
Ranger Distress Ink Pad - Prize Ribbon
Shop at:
Scrapbookcom
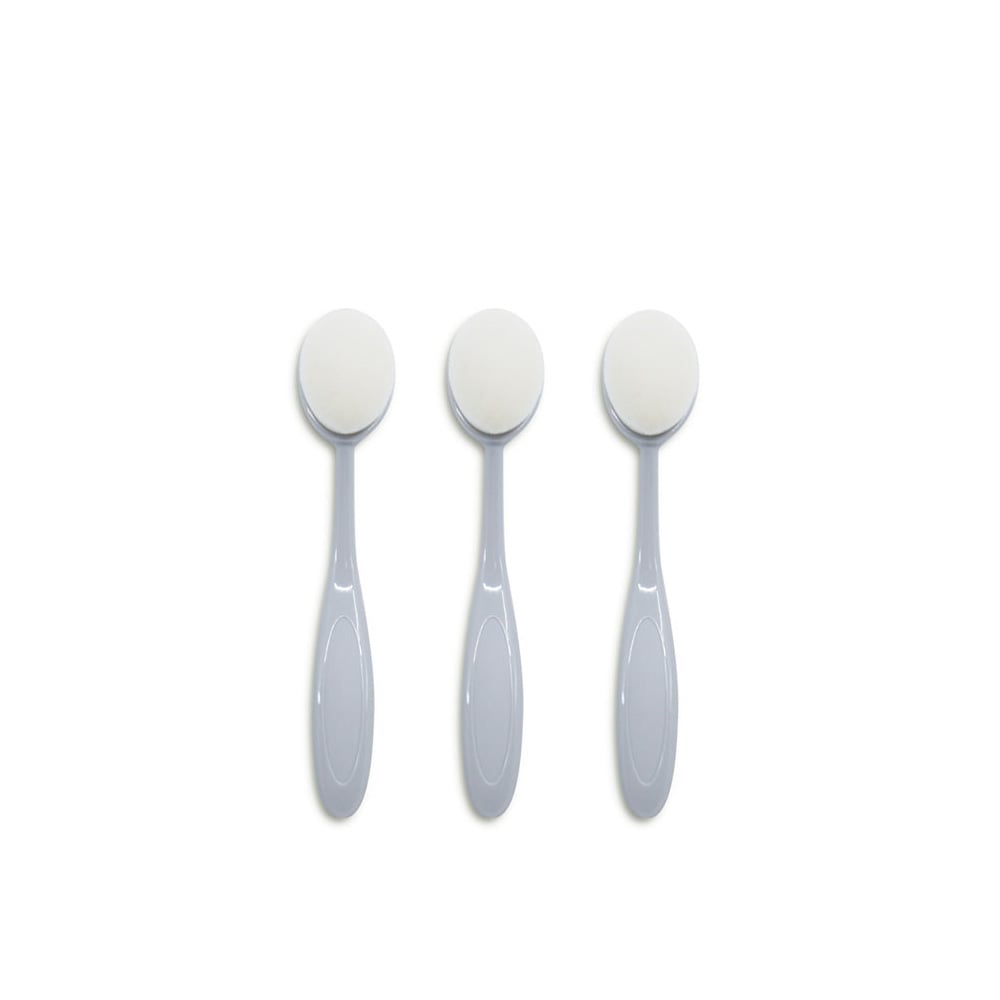
Exclusive Blending Brushes - Small - 3 pc
Shop at:
Scrapbookcom
Rose Quartz Misti Stamp Positioner
Shop at:
Scrapbookcom
Ranger Ink Distress Ink Pad - Kitsch Flamingo
Shop at:
Scrapbookcom
Unto Us Stamp Set
Unto Us Stamp Set
Shop at:
Erin Lee Creative
Ranger Distress Ink - Carved Pumpkin
Shop at:
Scrapbookcom


#wavingmywand #erinleecreative #cardmaking #christmascards #scripturecards #religiouscards #holidayseason #inkblending #masking #onelayercards #bibleverse #isaiah #rangerink #scrapbookcom #minttape #techniques #stamping #untous


Thursday, February 16, 2017

MaskIng on Kraft Paper With So Suzy Stamps

All month long, the So Suzy Stamps design team is bringing you themed and technique projects.  February is all about Someone Special and masking is the featured technique.  My project today, continues that trend with a masked Thank You Card and bonus, watercolor tinting.  


To begin, you will need:
-kraft paper
-white pigment ink (So Suzy Angel Wings ink bites)
-rectangle stitched or scalloped stacked dies (Elizabeth Craft Designs)
-water brush or small paintbrush
-mint dye ink (So Suzy Mellow Mint ink bites)
- sentiment (All You Do by So Suzy Stamps)
-leaf/sprig/herb style stamp (Herb by So Suzy Stamps)
-clear embossing powder or Versamark and white embossing powder
-Die Cutting Machine (Cuttlebug, Sizzix, etc.)
-heat embossing tool.

1.  To begin, line up your stacked dies on a piece of kraft paper and lightly trace the inner edge of each die with a pencil.  

2.  Use your Misti stamping tool and stamp your sentiment with the Angel Wings pigment ink, at the lower third and center of your innermost rectangle.  Sprinkle with clear embossing powder, tap off excess and heat with embossing tool.


3.  Stamp your herb or sprig onto cardstock and fussy cut for masking.  I found that having two fussy cut images was more helpful to close some of the gaps, further in.  Use the Misti to line up your stamp and the fussy cut image to mask the edges of the previously stamped image.  Try and keep your stamping within the outer border, allowing more to overflow below the top border.  Leave a couple inches of open space between your sentiment and the upper stamping.


4.  Continue with the masking and stamping until you've completed the outer border.  Take a pencil and gently erase any visible pencil lines, taking care not to smudge your ink.


5.  Line up your dies visually, so that both dies appear centered.  Tape your dies to your kraft paper with washi tape or semi sticky tape and run 2 passes or as needed through your die cutting machine.   


6.  This next step is optional.  Keep your images white or tint a few leaves.  Since I'm using a mint cardstock behind my kraft paper, I thought it would be fun to tint some leaves with the Mellow Mint ink bites from the Coastal Breeze ink bites collection.  Press your ink onto a craft mat or acrylic block, use a water brush or small wet paintbrush to grab the color and tint some of your leaves.


7. Mount your large inked die cut onto white cardstock, then mint cardstock and adhere to a kraft card.  Use foam tape to mount your center die cut.  Embellish as desired.  
Card dimension 4 3/4" x 6 1/8".


I hope these instructions were helpful.  Please let me know if you have any questions.  I often use a larger card and cut it down to size, based on the various layers that I end up with, usually 1/8" differential between each layer.  Thanks so much for stopping by.  

Terri


You can find the supplies I used for today's project, below.


~~~~~~~~~~~~~~~


Purchase Angel Wings pigment Ink Bites, here


Purchase Coastal Breeze Ink Bites, here


Purchase Herb stamp, here

Purchase All You Do sentiment, here
Purchase Mini Misti Stamping Tool, here


Don't forget to enter the Mirror Image Event every day this month, here, by commenting on each day's post, which is updated daily.  With $500 in prizes, you don't want to miss out!


Additional supplies:
DCWV mint cardstock
Neenah white cardstock
Kraft paper from Target dollar spot
adhesive runner
foam mounting tape
sequins


#sosuzystamps #misti #herb #stamps #sosuzyinkbites #coastalbreeze #angelwings #mellowmint #thankyou #allyoudo #sentiment #masking #someonespecial #terriburson #wavingmywand #appreciation #thanks #gratitude #mask


Wednesday, February 1, 2017

Creating a Masked Fairy Card for Someone Special featuring So Suzy Stamps


It's the first of the month and time for some new inspiration from the So Suzy Stamps design team.  This month, our theme/technique focus is on Someone Special/Masking.  Although this is the month of love, I thought I would begin by making a birthday card for Someone Special, using the Ordinary Days sentiment and the Fairy with Flower.


I've also got a free Cricut Design Space file that you can use to create your own masking panel, along with a 1 minute technique video that showcases the masked fairy.  I used the same coloring technique for the masked border, using washi tape instead. So much fun!  Of course, you could go the simple route and grab a large mug and trace a circle, then cut it with a craft knife.  Simple is good, too!


I'm also showcasing my Misti so you can see how handy it is to create a partial image for my fairy.  You're going to love it!  I'd love it if you'd give a thumbs up on my video as well.


This design space file is free to use for Cricut Explore users:


~~~~~~~~~~~~~~~~~~~~~

Visit the blog at So Suzy Stamps for more Design Team inspiration featuring the Masked technique.


Additional supplies:

Ranger distress inks
CTMH Black archival ink
Neenah black cardstock
Bazzill A7 Card


#sosuzystamps #misti #masking #fairy #fairies #distressink #watercolor #youtube #video #cricut #cricutexplore #birthday #ordinarydays #wavingmywand #terriburson #doubleclickskittles #rangerink #neenah #bazzill