Showing posts with label sunset. Show all posts

Tuesday, March 11, 2025

Lakeside Sunset Scripture Card

Hello friends! I'm sharing this card today that features Angie Blom Digital Designs with OLO Marker coloring. I used a lot of colors and share more details on that further down. I also have a lot of  technical information regarding the formatting of the digital designs and the creative process, so buckle up, grab your favorite beverage and hang with me for a bit!

If you've never worked with digital images, my hope is that in sharing my experience and knowledge, it will be a little less scary! The cost is so much more affordable than physical stamps, and you have creative license to do so many things with digi files. Plus, Angie often has really great sales! 


 (FTC Disclosure: as an affiliate for various companies in the craft industry, I will receive a small commission for purchases made through my convenient affiliate links, at no additional cost to you.)


I'm using 2 different digital collections, Love The Lake Background and Let Your Light Shine Girl, using the sentiment from that set.

I also do all my editing and printing in Microsoft Word. I have an older version, so your version make look a little different but, below is a synopsis of my edits.

I keep an A2 size blank document in my computer files since that is generally the size of cards I make. When I add graphics, I simply save it under a different file. I also keep a saved file on my computer of every card scene I create, so all I have to do is print, if I want to make another later on.

You'll notice below, I sized my images to be offset all the way to the edge of my A2 size word document. That's because I wanted the image to fully cover my card. I did very little trimming afterwards. When I do this, I usually get a word "error" stating my edges are outside the printed margins, or something like that. I always click yes, that I want to proceed.


I download all my Angie Blom digital designs into a dedicated folder on my desktop. In the photo above, I selected the png file I wanted to use from that folder and printed it using 100 lb cardstock. When working with multiple images that may need to be resized and formatted, always use the png file, not the jpeg file.

I had added some other elements, colored everything up and just wasn't happy with it. The reason I mention this is, I wanted to salvage the coloring from the upper portion of my sunset and trees. I trimmed my colored upper half at the "path", so I could splice it together with the lower half later.
To splice it together, I did use another white panel as backing, to adhere them together and line them up right and trim the edges as needed. You can't even tell, unless you run your finger across the center!


I ended up cropping out the bottom section of trees and water, so I only had the upper scene. I flipped it upside down and moved it to the bottom of my cardstock. I also wanted to make my trees look a bit more blurred, as a reflection in the water, so I found a really cool artistic feature called "glass" and converted it.

I should mention, you need to right click on your image first, and select format picture to find your options.

Once finished, I printed that on a separate sheet of cardstock and colored it just like I did for the top part of my scene.


All the designs are inserted as pictures when adding to a word document. I inserted my sentiment but needed to center it and scale it down just a bit. Because I wanted to print my sentiment onto my already colored cardstock, I needed to leave my lake image intact.

In order to move my sentiment, I had to "wrap text" "in front of text". This allows you to move an image around your screen when there are multiple images. Often times I have to edit my images, move some to the front and move some to the back in order to center everything just how I want it prior to printing.

Once, I had my sentiment centered, I deleted the other images from the screen so I could run my colored cardstock back through my printer and have my sentiment print on my scene.

You could also just print your sentiment on a separate piece of cardstock and adhere it to your colored card, but I really wanted to keep this a one layer card. They're my favorite cards to make!


I was really surprised how intense my coloring turned out, however, I laid down a lot, and I do mean a lot of color. I wanted to get as seamless of a blend as I possibly could.

To avoid any blotchiness, I used a side to side swipe technique. I don't know if that's a thing, but it works for me. I started with the base of my sun, coloring in oranges, then reds, and going back over several times, blending it all together. Start with light colors and work your way up to deeper colors.


 It's so easy have your colors be blotchy in a large scene like this, so don't color in circles. Color all the way across, placing your marker so the side of your brush tip touches the paper. I try to do continuous coloring from left to right or vice versa. 

I also added paint splatters and used a white gel pen in places; dotting the trees, adding some to the pathway and around the edge of the sun on the lower water scene, to soften the circle's edge.

For my pathway and around the lower sun, I would smudge the gel ink after it was applied, with my finger.

I did use a strip of low tack tape to cover my sentiment before creating the paint splatters.


Here's a breakdown of all the OLO colors that I used. Some are pictured above, but some were on the flip side of what you see pictured, since I typically purchase the half markers and use the ring connectors. So basically, you can have 2 markers in your hand at once! Also, another plus that I love about these artist markers is that they have a ton of ink in them. There's more ink in a half marker than any other brand of FULL markers on the market! 

Colors:

RV0.1, RV0.2, RV0.4, BV1.1 (sky)
OR1.2, OR1.3, 02.4, OR2.5, R1.5 (sun)
BG2.3, B4.3, B0.5, BG 0.8 (water)
OR3.4, 02.7 (path)


My full card dimensions, after creating my card panel, trimming a backing with black cardstock and scoring my own card, was 4 1/4 x 5 3/4 inches.

I hope this has been helpful. I would love to hear from you in the comments! Also, I'm an affiliate for OLO Marker so if you decide you'd like to start your own collection of these amazing artist markers, or add to your current collection, I would really appreciate if you shop through my affiliate links, or even if just to browse for product information. These links are provided at no additional cost to you. The company pays me a small commission, a few cents per dollar for purchases made through my affiliate links. It also allows them to see how their customer base finds their way to their site, so make me look good, haha!

Browse or shop OLO Marker, here. Check out their resource section too, they have printables you can color, and also swatch sheets to print!

Thanks so much for stopping by. If you stuck around for all my chit chat, I appreciate you so much! Have a great day!


Terri


#wavingmywand #olomarker #angieblomdigitaldesigns #coloring #artistmarkers #olomarker #cardmaking #cards #scripture #bibleverse #sunset #lake #letyourlightshine #digifiles #digitalimages #digitaldesigns #printables


Wednesday, June 19, 2024

Sunset Photo Inspiration Card

Hello lovelies, I'm back with another card featuring the new Sunset Beach Stencil Set from Erin Lee Creative. My card was inspired by a video I saw on Tiktok, showcasing a sunset at one of my favorite vacation destinations. Scroll down for creative details. I'll also have my supply list at the end of this post.


(FTC Disclosure: as an affiliate for various companies in the craft industry, I will receive a small commission for purchases made through my convenient affiliate links, at no additional cost to you.)


I was scrolling through TikTok and a video from the account of a Florida Real Estate agent, Sarah Thompson, showed up in my feed. I took a screenshot of this gorgeous scene and decided to use it for inspiration on my Sunset Beach card.

I did crop this photo so you won't see all of the gray sky at the top, or the dark, shadowy beach as pictured on the bottom of the full photo. I would love to tag Sarah's account but I reached out to her and did not get a response as of this writing.

Destin is one of our favorite vacation spots. I highly recommend this location, if you've never been. They have beautiful, white sandy beaches and some of the best seafood you will ever eat.


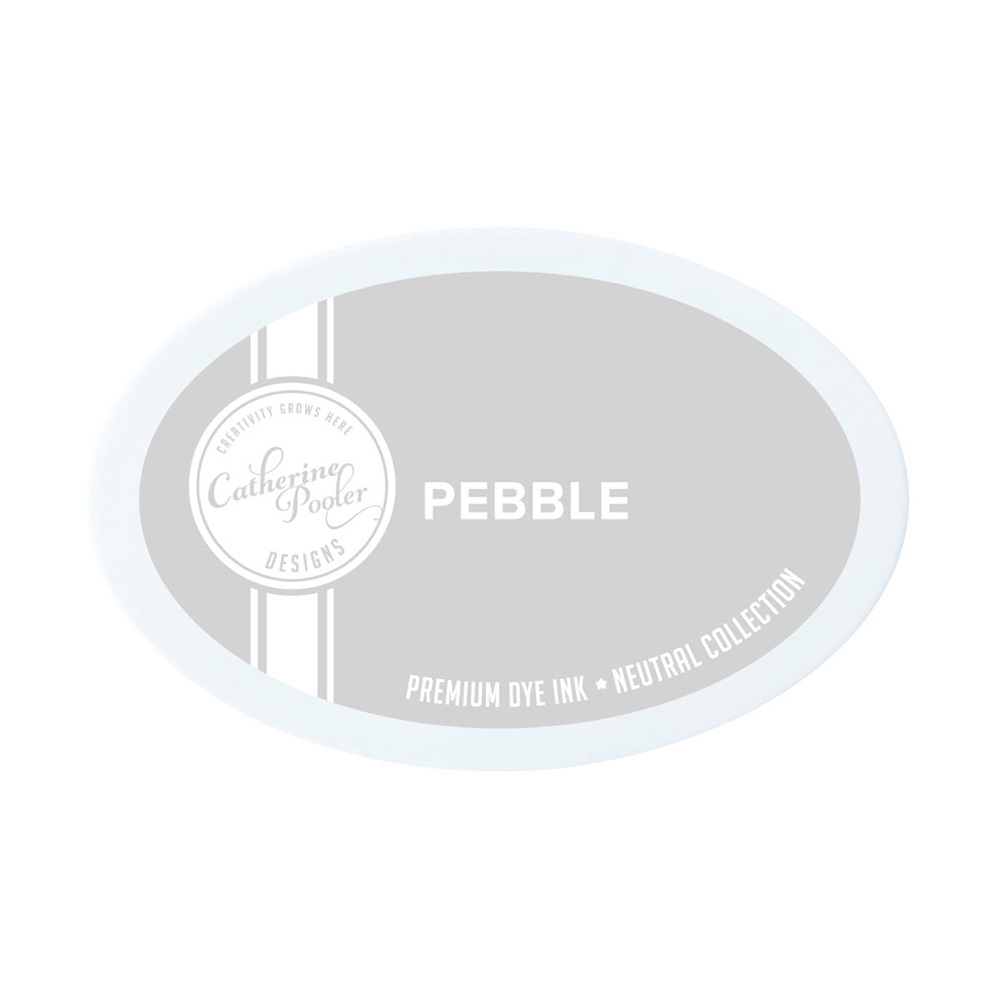
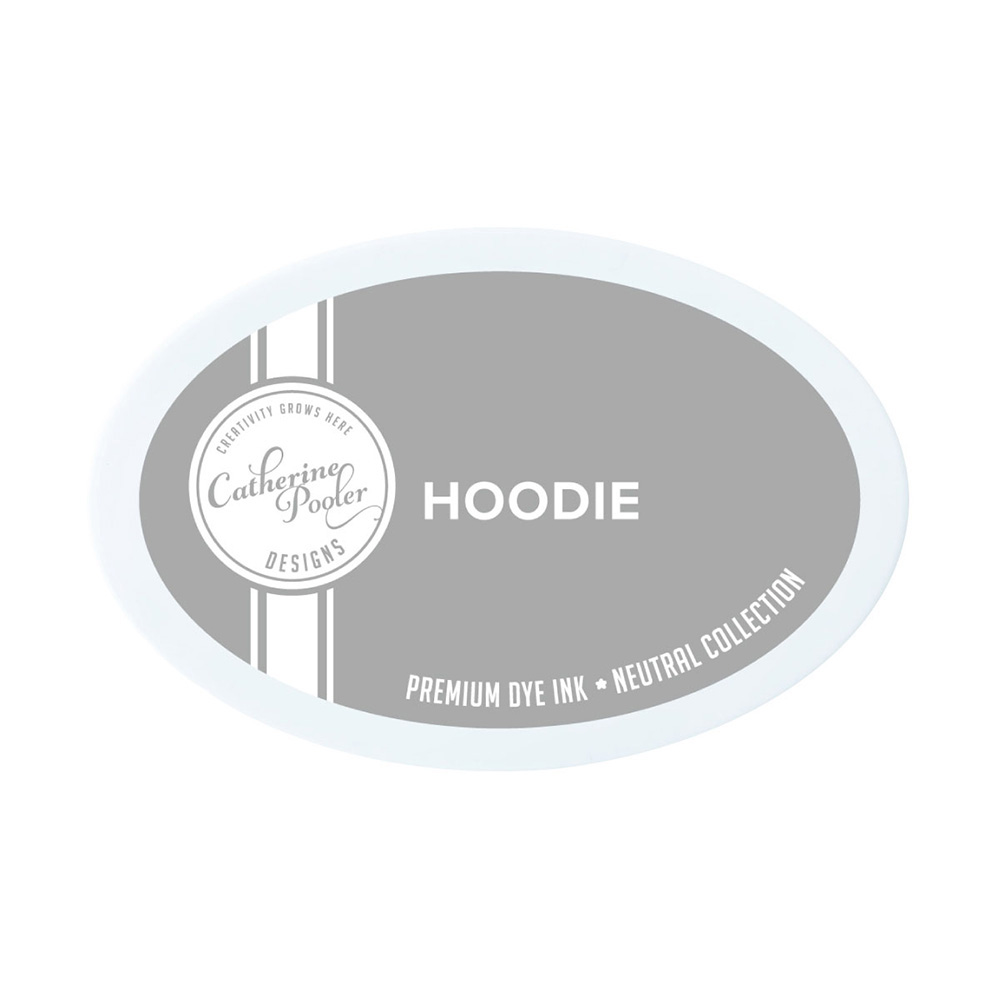
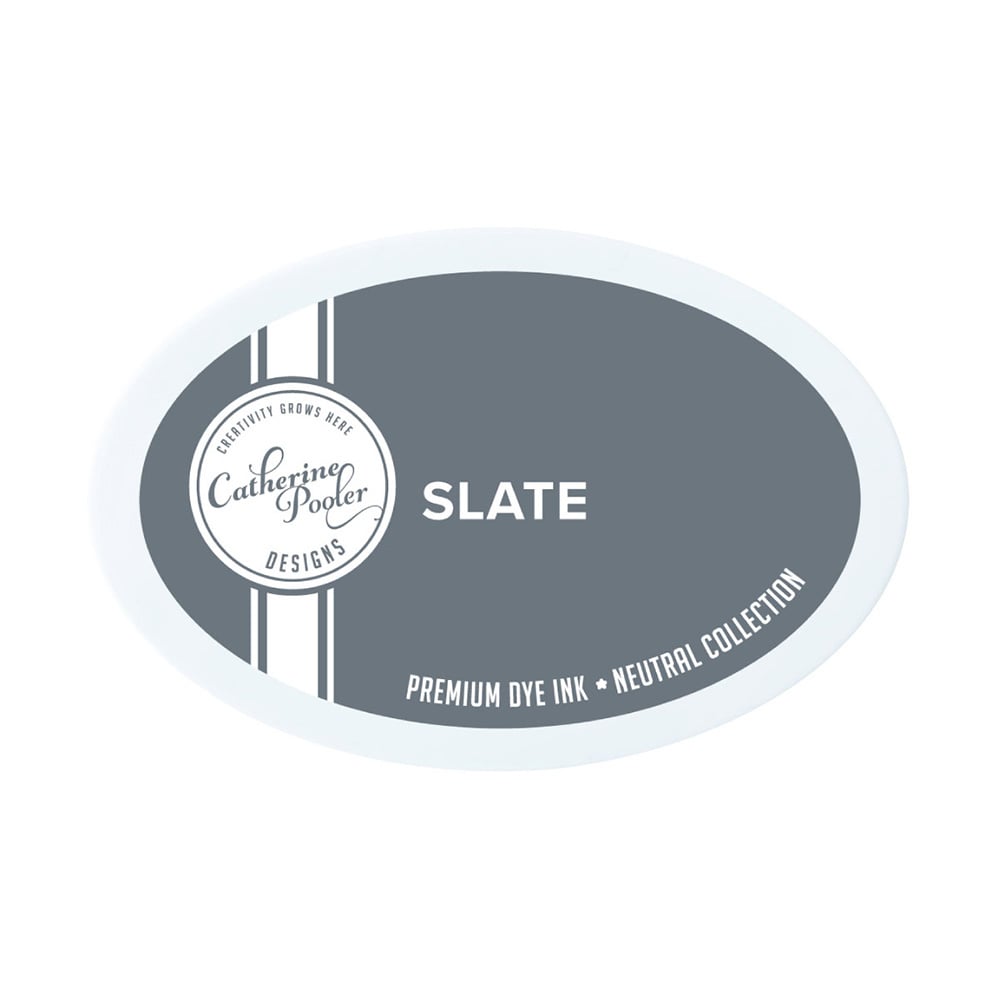
I tried to capture some of the sky reflected on the water, and the dark shadowy color of the beach. Luckily, I had Catherine Pooler inks in my stash that helped me pull this off. 

Here are the inks that I used:

Pebble, Hoodie, Slate (gray inks)
Orange Twist
Whipped Honey

My inks were all applied using blender brushes. Let me give you a tip. This stencil comes in 8 different pieces. I blended more than one color with some of my stenciling. Some of the dark gray and orange for the clouds, some of the yellow and orange around the sun, and some of the water on the beach that reflects orange and gray.


I seriously considered not having a sentiment on my card, as I really wanted the scene to be the star, with nothing taking away from it. I did however, decide to add a small Tim Holtz Small Talk sticker off to the side. I think the quote really compliments my scene. You can find these stickers on Amazon, or some big box craft stores may carry them. They're also available at Simon Says Stamp. I picked mine up at a local Hobby Lobby several years ago.

Lastly, I added paint splatters using my Spellbinders Splatter White.


Looking back at my finished card, I think I could have gone in with a touch of pink and maybe a little red. Next time, maybe. I'm fairly happy with how it turned out and I challenge you to make a card based on a photo that inspires you. It's a great way to step outside your comfort zone, or pair colors that wouldn't normally be your first choice. Experimentation can be lots of fun!

Thanks so much for hanging with me today. If you'd like to browse or shop for any of these products, I've provided convenient clickable affiliate links for you below. There is no additional cost for you to use my links and I appreciate it so much when you do! Have a great day!


Terri

*************************

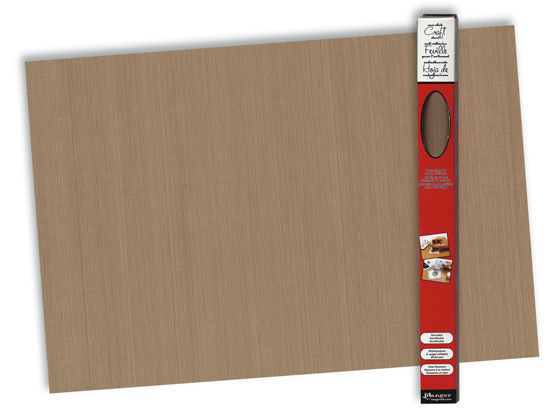
Ranger Inkssentials Craft Mat 15x18
Shop at:
Scrapbookcom
Neenah A2 Card Front Panel 25 pk
Shop at:
Scrapbookcom
Refillable Permanent Adhesive Runner - 49 feet
Shop at:
Scrapbookcom
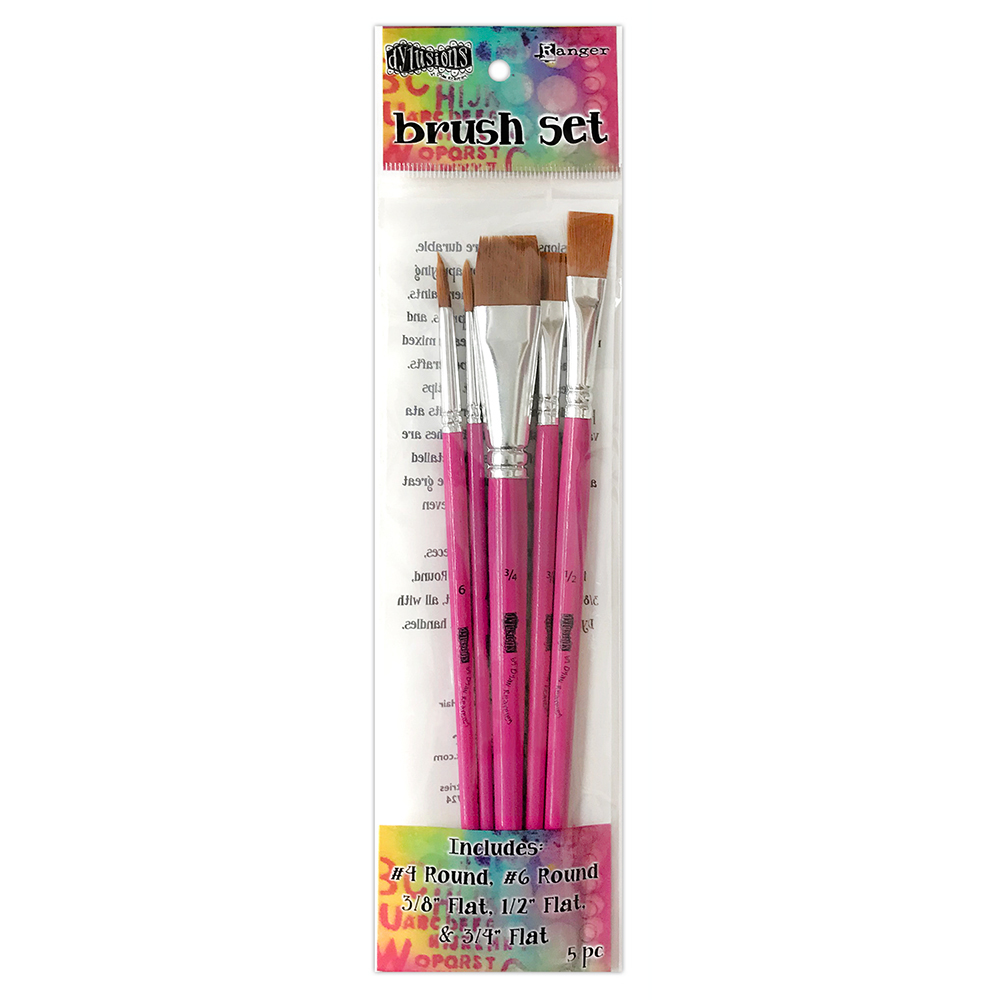
Dylusions Paint Brush Set
Shop at:
Scrapbookcom
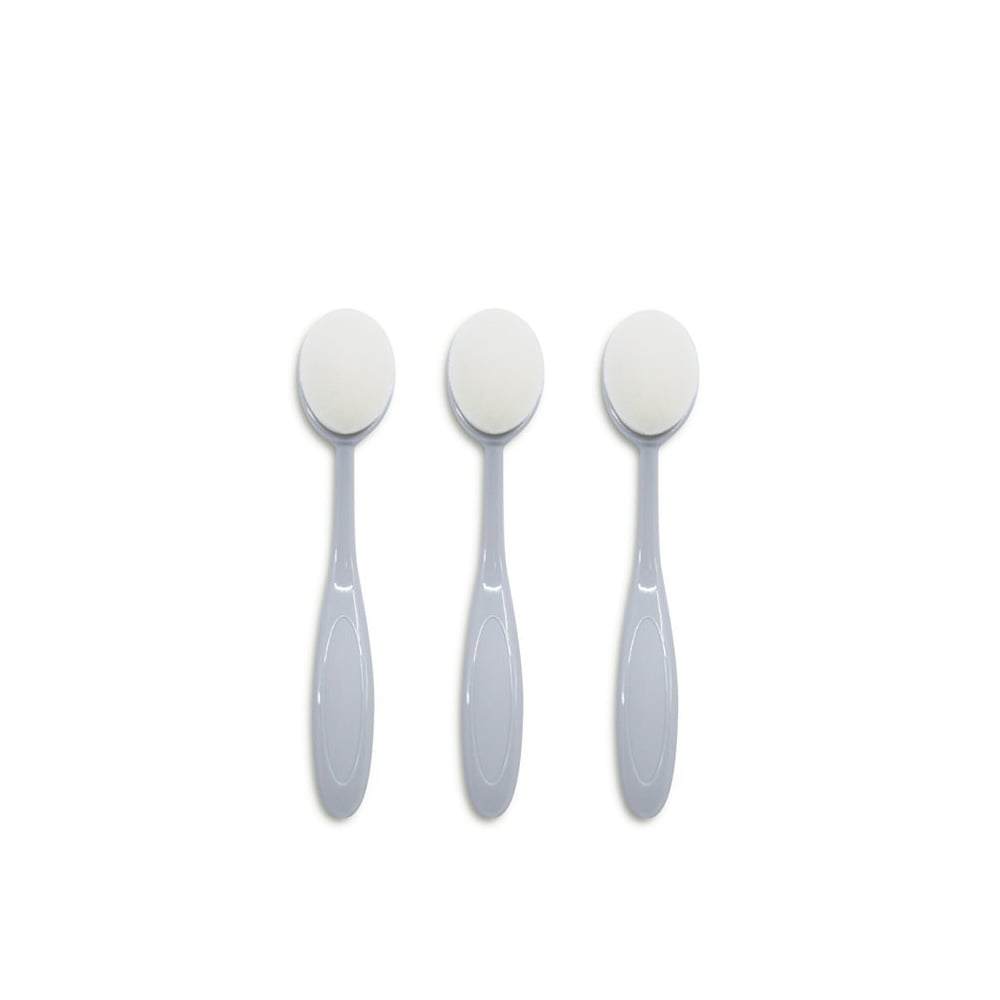
Exclusive Blending Brushes - Small - 3 pc
Shop at:
Scrapbookcom
Catherine Pooler Ink Pad - Pebble
Shop at:
Scrapbookcom
Catherine Pooler Ink Pad - Hoodie
Shop at:
Scrapbookcom
Catherine Pooler Ink Pad - Slate
Shop at:
Scrapbookcom
Sunset Beach Layering Stencil Set - 8 pc.
Shop at:
Erin Lee Creative
Spellbinders Splatter White
Shop at:
Scrapbookcom
Catherine Pooler Ink - Orange Twist
Shop at:
Scrapbookcom
Neenah Solar White A2 Vertical Cards - 25 pk
Shop at:
Scrapbookcom
Catherine Pooler Ink - Whipped Honey
Shop at:
Scrapbookcom


#wavingmywand #erinleecreative #sunsetbeach #beachlife #summervacation #beachtrip #ocean #sea #cardmaking #diy #cards #timholtz #smalltalk #stickers #catherinepoolerink #splatterwhite #spellbinders #scrapbookcom #sunset #beach #stencils #layeredstencils #amazon #photoinspo #destinflorida #tiktokinspo


Saturday, July 22, 2023

Ocean Sunset Scripture Card

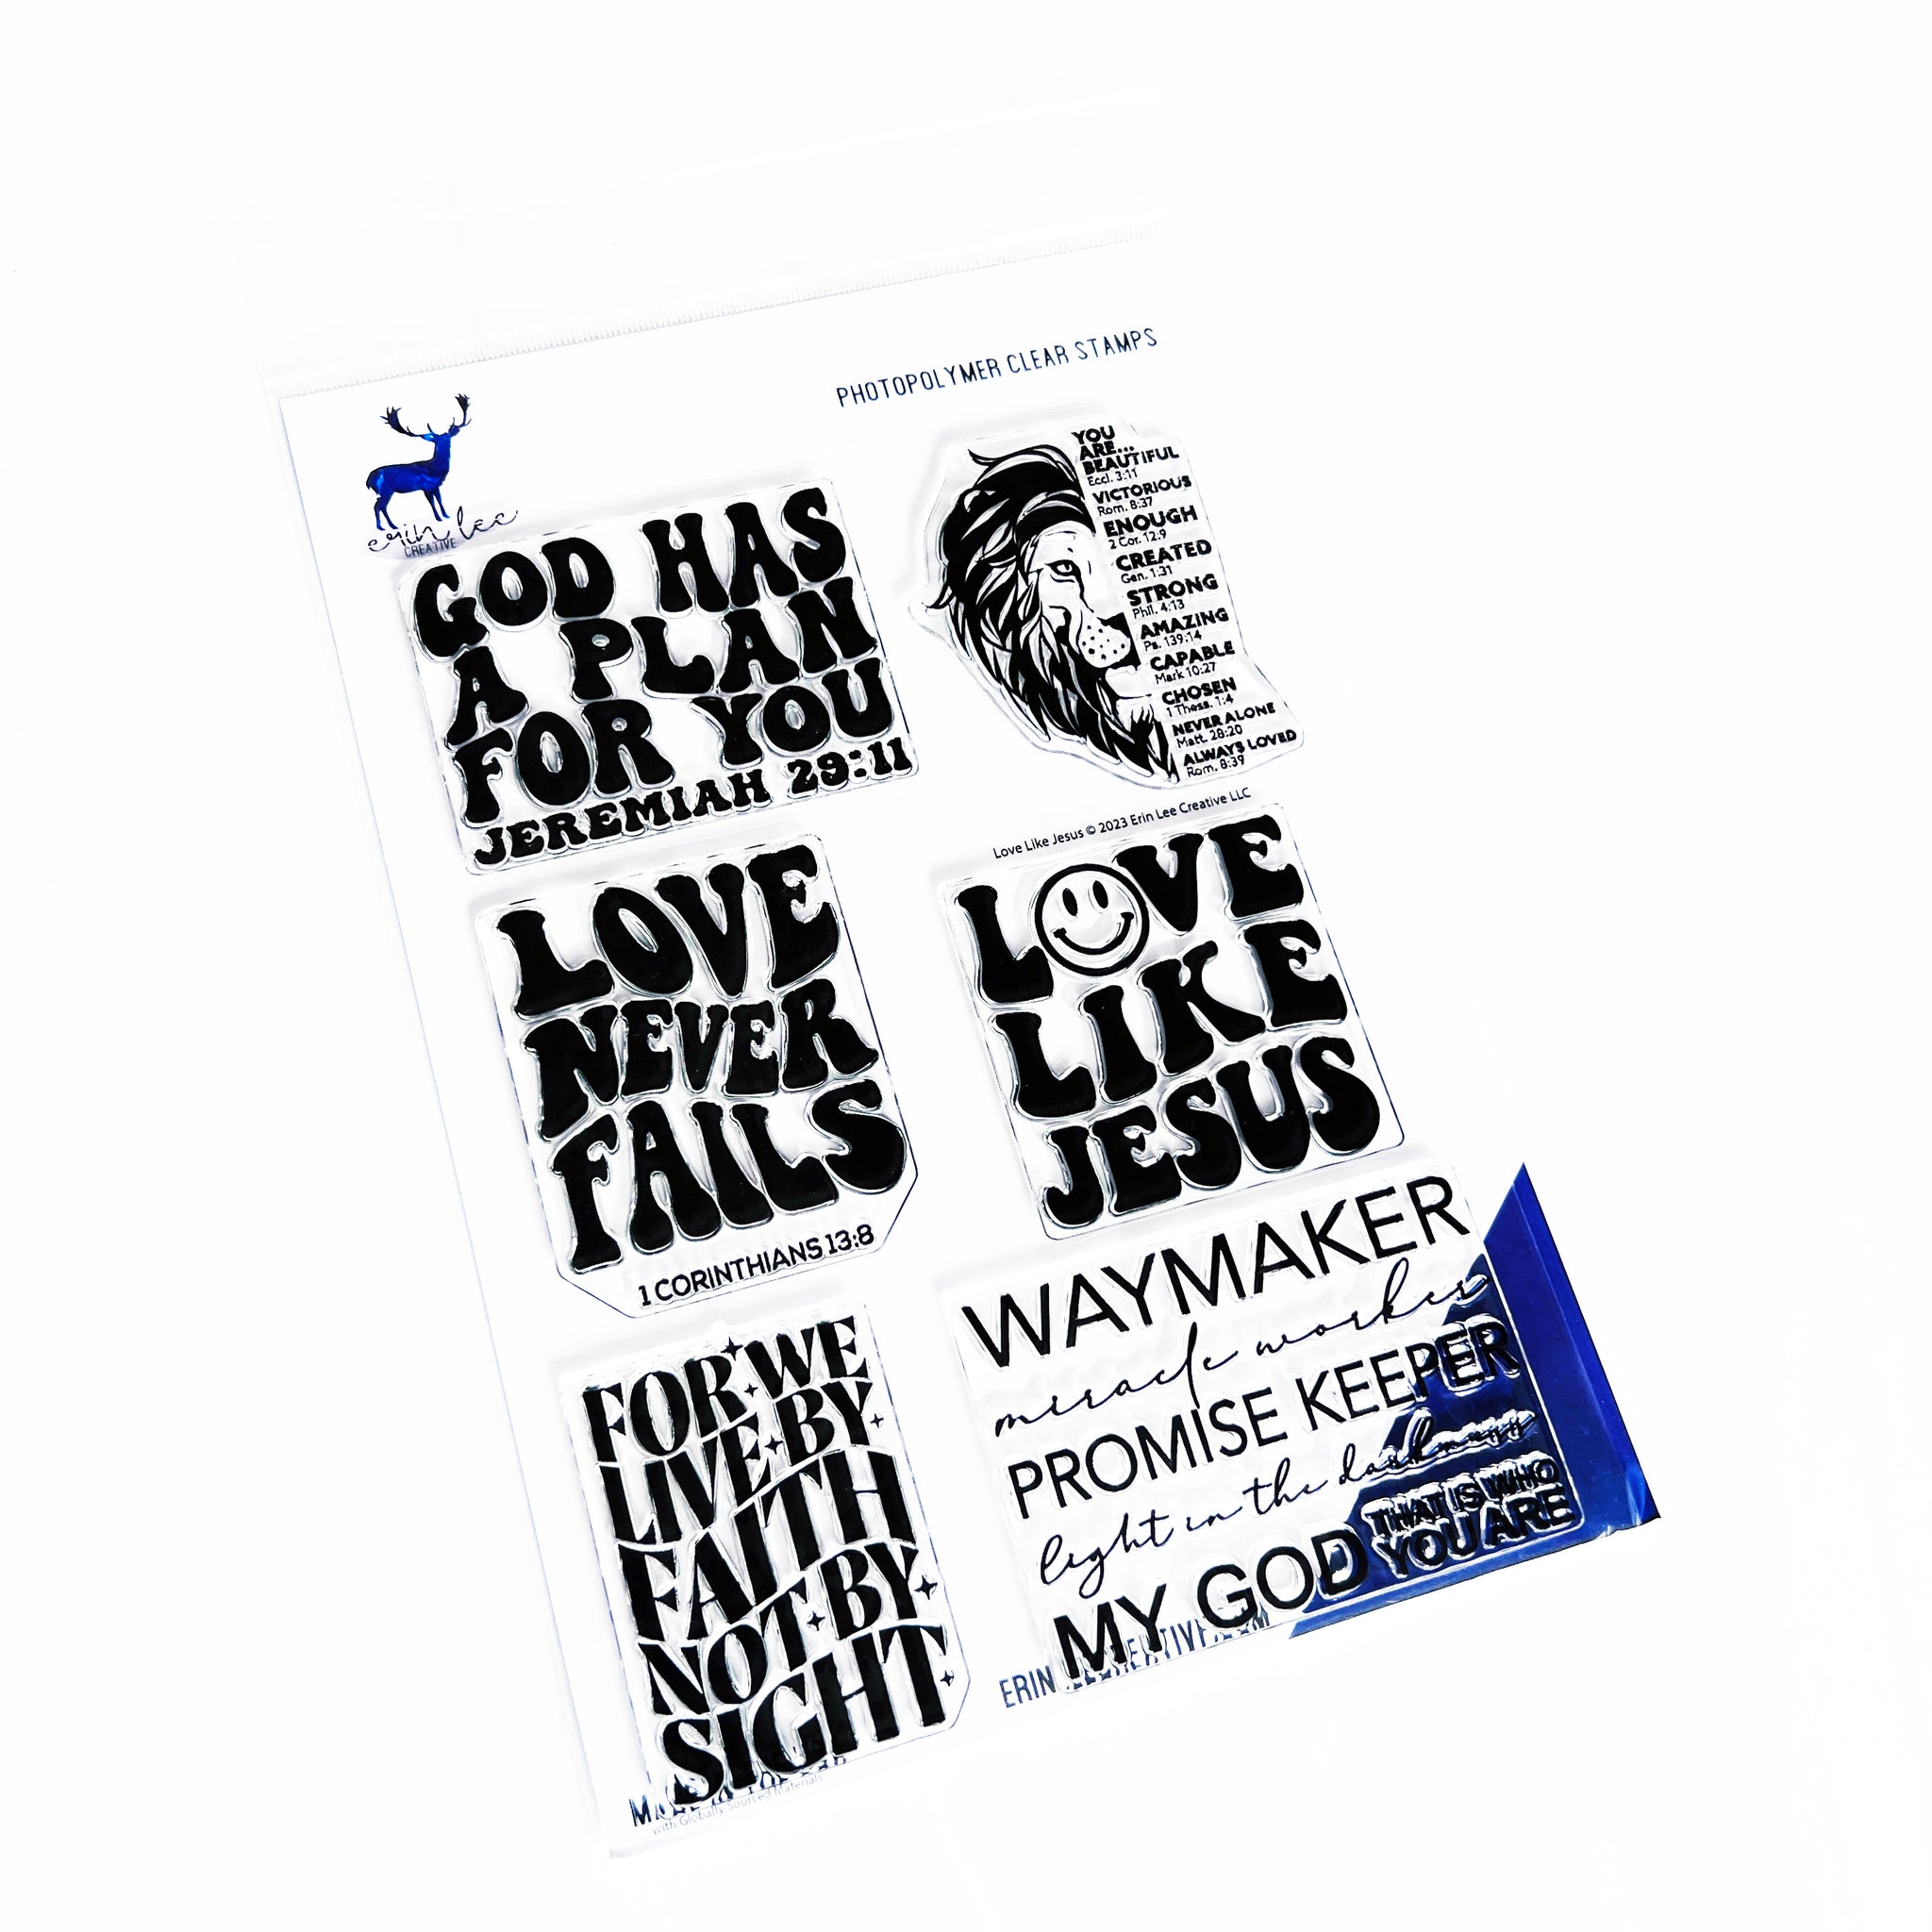
Hello lovelies. I recently purchased the Love Like Jesus stamp set from Erin Lee Creative. It has lots of wonderful sentiments including the Waymaker sentiment. The song Waymaker is one of my favorite Christian songs and I had to have it! The sentiments are large and I wasn't sure which direction I wanted to go. Ultimately, I decided to freehand the scene that you see below. Honestly, it was much easier than I thought and I'm confident that you can do this too!


(FTC Disclosure: as an affiliate for various companies in the craft industry, I will receive a small commission for purchases made through my convenient affiliate links, at no additional cost to you.)


My idea was to use my wide mint tape to mask the lower portion of my card panel before ink blending the upper section. I also trimmed out a half sun with the mint tape to mask a sun shape.

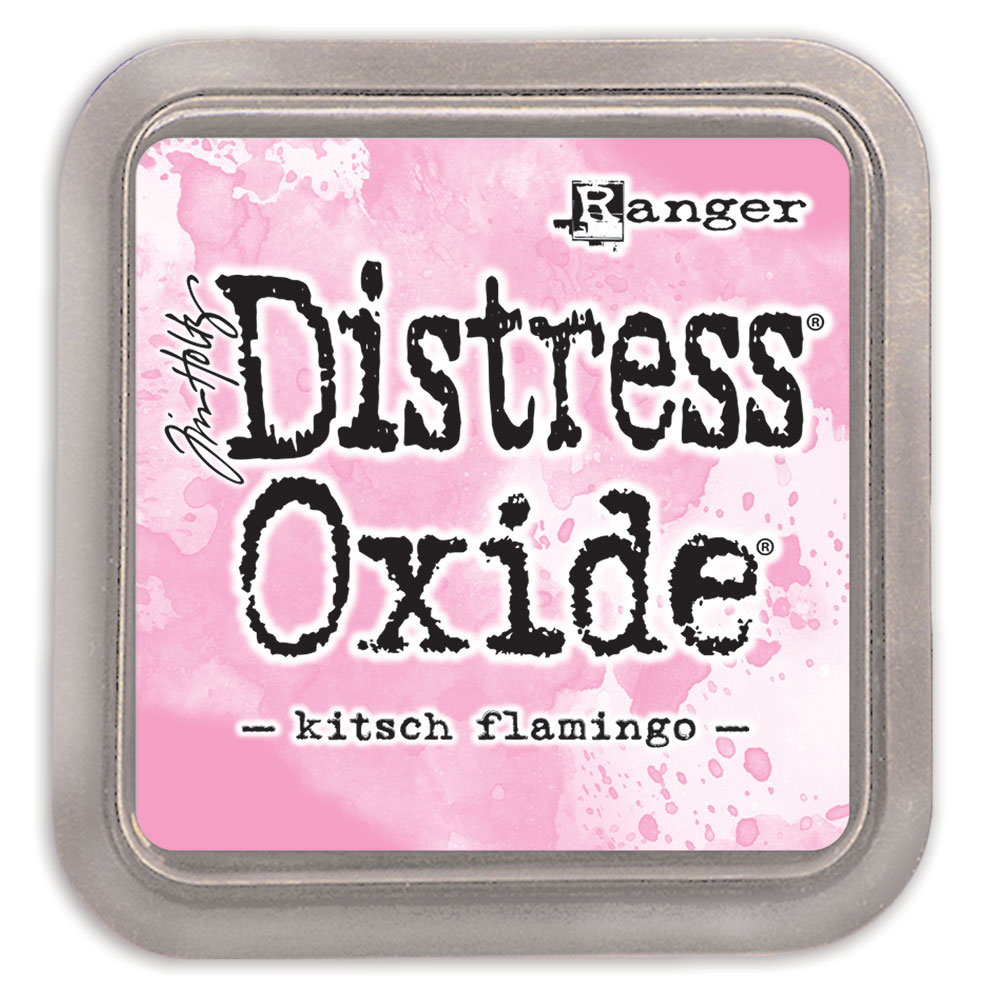
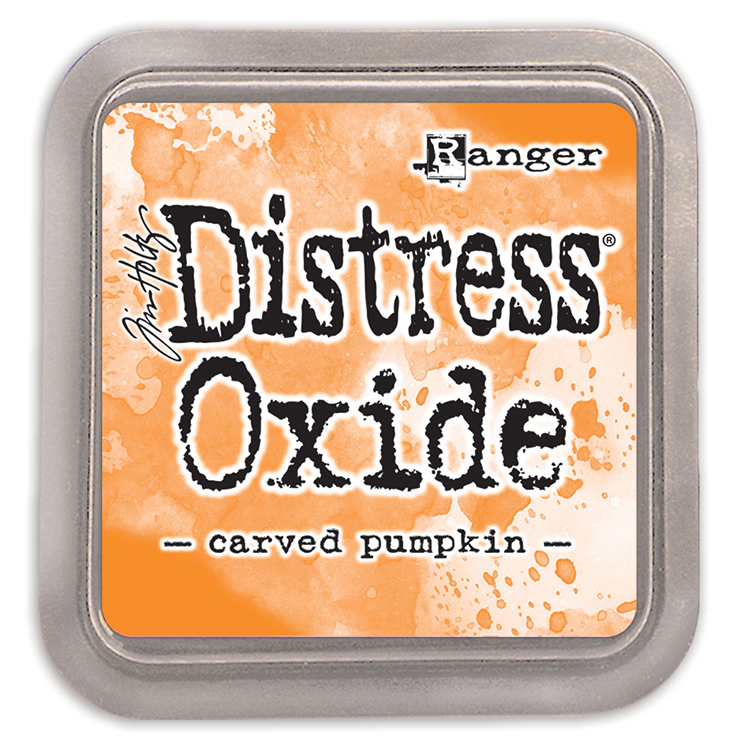
I used my Ranger distress oxide inks in Kitsch Flamingo, Fossilized Amber and Carved Pumpkin for my top colors.


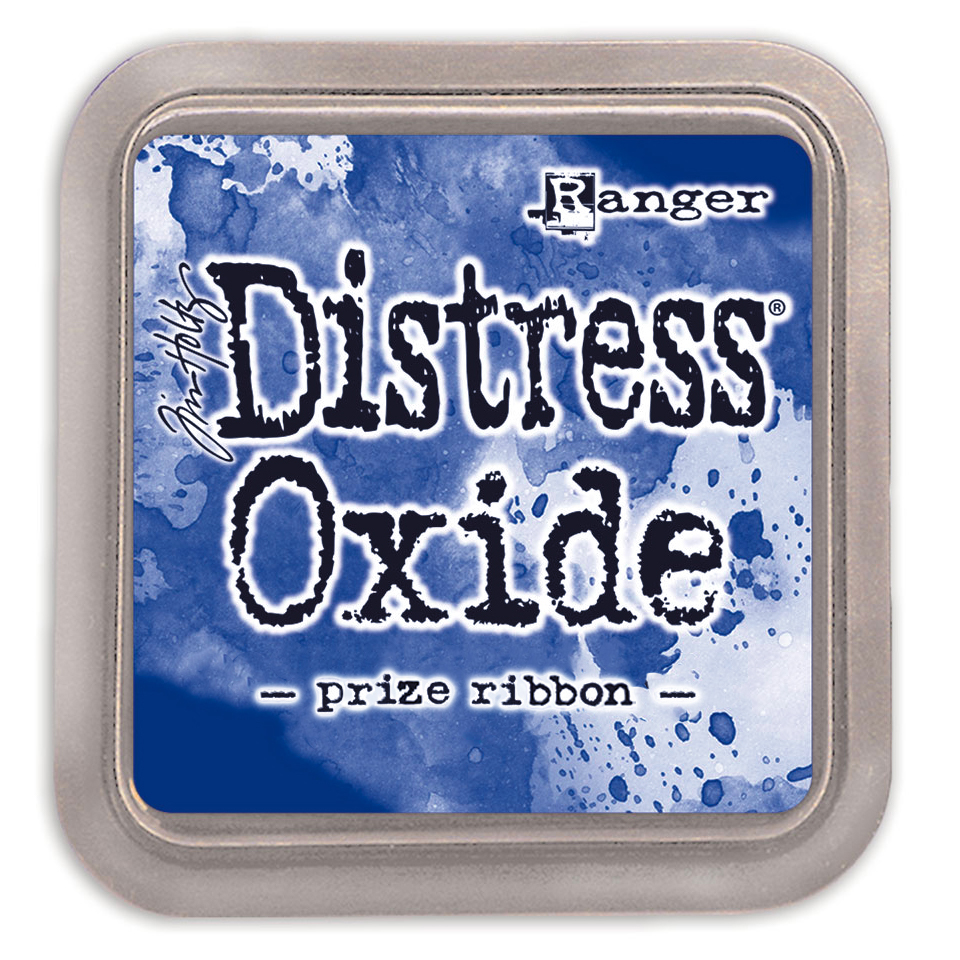
Next, I masked off the top section and sun with mint tap and grabbed my Ranger Distress Oxide ink, Prize Ribbon. I decided to swipe my ink across the panel sideways, leaving some white space in the middle where the sunlight would bounce off the water.

Next, I filled in the white space with a little bit of ink blended color using the pink and yellow ink still left on my blender brush.


I also swiped in some white acrylic paint using a flat tipped paintbrush, to make some waves. I had no plan folks, I just swiped from side to side. Sometimes you don't know what you're doing, you just give it your best effort, haha!

To finish my water scene, I felt like I had too much white, so I used the paintbrush to swipe lines using the Prize Ribbon ink. I pressed it onto my craft mat, spritzed with a tiny bit of water, then dipped the tip of my flat paintbrush in the mix and swiped in random places on the ocean. This really helped give a little more depth, I think. Finally, I ink blended the lower corners and sides of my ocean water with Ranger Distress ink in Prize Ribbon, not the oxide. I wanted a little darker look on the outside with lighter water on the inside. Does that make sense? I'm not always the best at explaining what's in my head!


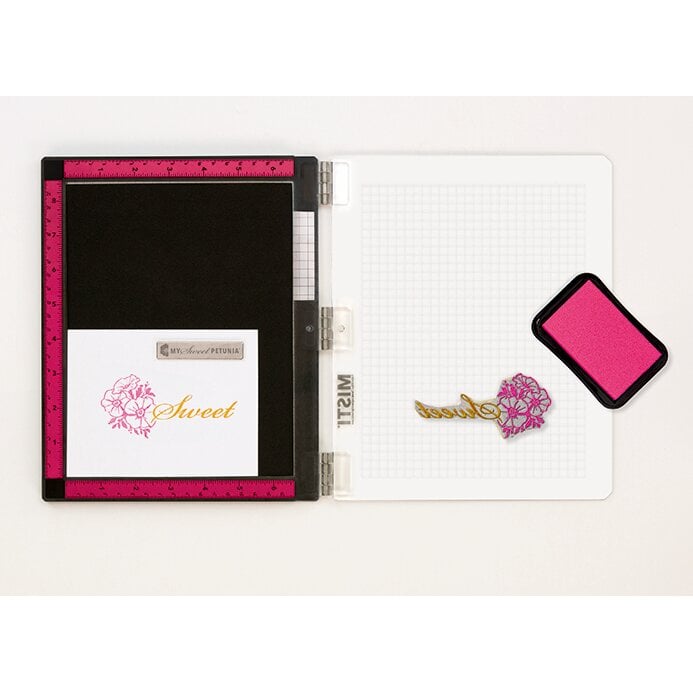
For my sentiment, I initially stamped it with black hybrid ink using my Misti stamp positioner. However, it just wasn't dark enough, even after stamping multiple times. I decided to use clear emboss ink to stamp over my black ink, then did some heat embossing with super fine black Ranger embossing powder. Now, the sentiment really stands out.

I opted not to add any additional embellishment. After all, the sentiment is very large and the star of the show. My background is nothing more than a compliment to those amazing words. Less is more, in this case. 


I want to congratulate you for sticking with me through all those details! It probably took me about 30 minutes to complete this card, only because I'm thinking it through as I go. I think you could easily accomplish it in about 20 minutes. Give it a go!

If you'd like to purchase this stamp set or check out the other products that I used, I have convenient affiliate product links provided below at no additional cost to you. Thank you for popping in and I'll see you next time!

Terri

**********************************
Ranger Ink Super Fine Black embossing powder
Shop at:
Scrapbookcom
Scrapbook.com Hybrid Ink - Black
Shop at:
Scrapbookcom
Wendy Vecchi Makeart Non-stick Craft Sheet
Shop at:
Scrapbookcom | Ranger Ink
Ranger Heat It Craft Tool
Shop at:
Scrapbookcom | Ranger Ink
Mint Tape
Mint Tape
Shop at:
Scrapbookcom
Neenah A2 Vertical Card/Envelope Set 25 pk
Shop at:
Scrapbookcom
Neenah A2 Card Front Panel 25 pk
Shop at:
Scrapbookcom
Refillable Permanent Adhesive Runner - 49 feet
Shop at:
Scrapbookcom
Dina Wakley Heavy Acrylic Paint - White
Shop at:
Scrapbookcom
New Misti (metal hinges) 8x10 inch
Shop at:
Scrapbookcom
Dina Wakley Heavy Acrylic Paint - White
Shop at:
Scrapbookcom
Ranger Fossilized Amber distress oxide ink pad
Shop at:
Scrapbookcom
Dylusions Paint Brush Set
Shop at:
Scrapbookcom
Ranger Distress Oxide Ink Pad - Kitsch Flamingo
Shop at:
Scrapbookcom | Ranger Ink
Ranger Distress Oxide Ink Pad - Carved Pumpkin
Shop at:
Scrapbookcom | Ranger Ink
Love Like Jesus Stamp Set
Shop at:
Erin Lee Creative
Ranger Distress Ink Pad - Prize Ribbon
Shop at:
Scrapbookcom
Ranger Distress Oxide Ink Pad -  Prize Ribbon
Ranger Distress Oxide Ink Pad - Prize Ribbon
Shop at:
Scrapbookcom


#wavingmywand #erinleecreative #waymaker #lovelikejesus #stamping #inkblending #sunset #ocean #beach #scripturecards #rangerink #scrapbookcom #cardmaking #diycards #stamping #paint #christiancards #encouragement

Sunday, April 10, 2016

New Release at So Suzy Stamps SAMClub

 It's time for the So Suzy Stamps April Release for the Stamp of the Month Club!  I love this month's stamp - it's an entire scene which is nothing but FUN to color.  Ya'll know I love to watercolor, so I pulled out my So Suzy Stamps Ink Bites, using the Coastal Breeze ink colors.


The only other ink color I used was for the sentiment and I ran my black Tombow Marker across the wording.  To give this scene a softer look, I stamped the entire image (not including the sentiment) in the Egyptian Sand color from the Coastal Breeze Ink Bites.  Then I colored in my scene, using my ink, stamped onto an acrylic block, then spritzed with water.  I add more ink or less water to enhance the colors.  I also added some Stickles glitter glue to my palm tree leaves and one side of the setting sun.  Suzy also carries those in her shop as well. 
To make the fringe on the sides, you can use burlap string but I used a trimmed piece of May Arts Ribbon open weave burlap ribbon.  It's quicker and easier than cutting a bunch of string.  I used some glue lines from Thermoweb to adhere to my Graphic 45 cardstock, to finish.


 I hope you enjoyed my project and handy tips.  Check out Suzy's website and maybe do some shopping while you're at it.   Then take a look at the SAM club.  Exclusive membership gets you special stamps each month, plus membership into a private Facebook group, fun giveaways and more! 

The next quarter starts this month so there's still time for you to sign up.  You can choose a 3 month membership or longer if you'd like.  Membership packages are available to USA, Canada and drum roll..... International!  I've already had a sneak peek at future releases and they are soooo fun!  You won't be disappointed!  If you love coastal, beachy, nautical fun..... sign up!  Membership can sell out quick so don't wait.


#sosuzystamps #sosuzysamclub #sam #samclub #stampamonth #cardmaking #scrapbooking #diy #cre8time #poolside #beach #flipflops #beachy #ocean #waves #tropical #paint #watercolor #thermoweb #inkbites #coastalbreeze #Ranger #stickles #glitter #xyron #graphic45 #g45