Showing posts with label topflight stamps. Show all posts

Wednesday, May 17, 2023

CAS Card Series No. 1

Hello lovelies. I've been wanting to start a CAS (clean and simple) card series for awhile and finally decided to just do it. I haven't made up my mind how frequently I'll be doing this yet, but at least I've got the ball rolling. I even made a fancy graphic, haha. And, a hashtag.....! #wmwcascards


(FTC Disclosure: as an affiliate for various companies in the craft industry, I will receive a small commission for purchases made through my convenient affiliate links, at no additional cost to you.)


I love all styles of cardmaking yet don't really make that many CAS cards. Depending on where your Google search leads you, clean and simple cardmaking is defined as uncluttered with a lot of open or white space with minimal layers or embellishments. This card actually qualifies as a one layered CAS card.


 I have been a designer and affiliate in the craft and hobby industry for a number of years. I have a tendency to be brand loyal when creating specific cards for companies, also meeting the requirements of those companies.

Which leads me to say, I plan to be a little more free with product selection in this series. I plan on using whatever inspires for the direction I have in mind, mixing the various brands that meet the needs for my creative endeavors! Gosh, I said a mouthful!


I'm using a number of product brands for this project, starting with the focal point; an AALL & Create stamp set that I purchased from TopFlight Stamps, specifically to go with my Heidi Swapp sentiment.

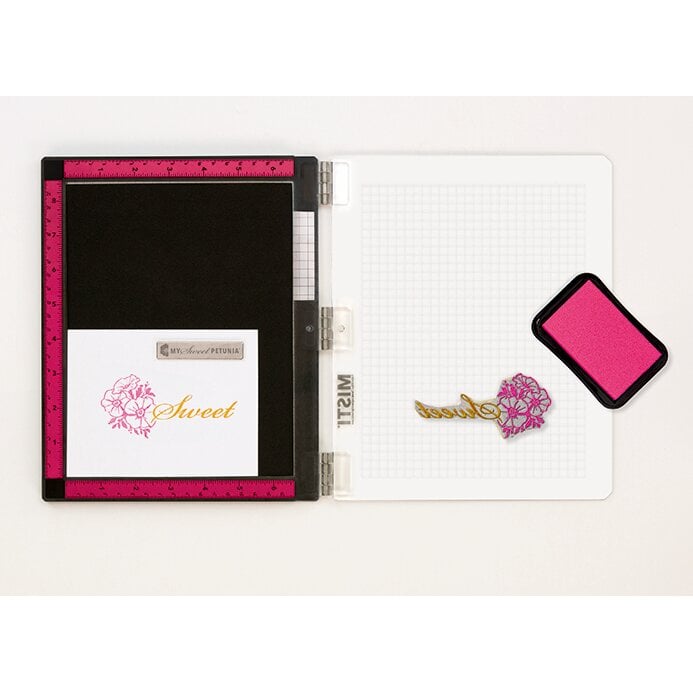
I began by stamping my image with black hybrid ink which is good for coloring with alcohol markers, along with my Misti stamp positioner. I also stamped the feet and legs on masking tape, then fussy cut for a bit of masking.


I know, keep it simple, right? The masking technique is very simple and takes less than a minute to fussy cut. After stamping my image, I laid down my masked legs/feet on top to stamp my "floor" so that the feet and floor appear to be as one, rather than simply stamping the floor under the feet. 
The stamp set that I used for my floor is from Inkblot Shop and has been well loved. I only wanted a portion of that "floor" stamped on my card, to stay within the confines of my focal image, so I did some partial masking of that stamp or the floor, as well.

If you wanted to make multiples of this card, it would be easy enough to do, once you get in the groove.


This next step is an ode to my mother. She wore her house gowns ALL.THE.TIME! She had some of the tackiest gowns and I set out to make this gown tacky! I had a Miss Ink Stamps stencil floral design that was perfect for placing over my gown, using a fine tip black marker to trace some of the design onto the gown. I know if my mom were still with us, she would laugh uncontrollably at this card!

Next up, the coloring! I used these Copic Sketch Markers:

Gown: RV10,  BG11, YR15 
Body: E00 (Cheeks, RV10)
Eyes: E37, YG11
Slippers: RV10, C7 
Cap: BG11, C3
Floor: C7
Earrings: YR68
Mug: B93, B000
Other embellishing w/white gel pen


I hope you enjoyed reading about the making of this card, the first in my series and I hope it inspires you to break out your supplies and get creative with CAS!

Most of the stamps mentioned above have direct links attached if you click on the highlighted text. However, if you would like to shop for Copic Markers I do have an affiliate link; feel free to visit ScrapbookPal, my favorite shop for reasonably priced markers and low shipping! Other affiliate links can be found below for some of the other products that I used.

Thanks so much for stopping by and if you leave a comment that would be most appreciated. If you have any specific themes for a CAS card that you would like to see, please let me know.

Terri

*****************************
Neenah Solar White A2 Scored Cards
Shop at:
Scrapbookcom
Neenah Card Front Solar White 5.5 x 4.25 inch 25 pk
Shop at:
Scrapbookcom
Copic Alcohol Marker C3 Cool Gray / Grey
Shop at:
ScrapbookPal
Copic Alcohol Marker C7 Cool Gray / Grey
Shop at:
ScrapbookPal
Scrapbook.com Hybrid Ink - Black
Shop at:
Scrapbookcom
Uniball Signo White Gel pen
Shop at:
Simon Says Stamp
Copic Sketch Marker - BG11
Shop at:
Simon Says Stamp
Copic Sketch Marker - YR68 Orange Bright Bold
Shop at:
ScrapbookPal
Copic Sketch Marker - E37 Sepia Brown
Shop at:
ScrapbookPal
Copic Sketch Marker - YG11 Mignonette Light Green Pale Pastel Mint
Shop at:
ScrapbookPal
Wendy Vecchi Makeart Non-stick Craft Sheet
Shop at:
Scrapbookcom | Ranger Ink
Shop all Copic Markers at ScrapbookPal!
Shop at:
ScrapbookPal
Copic Sketch Marker  RV10 Pale Pink
Copic Sketch Marker RV10 Pale Pink
Shop at:
ScrapbookPal
Mint Tape
Mint Tape
Shop at:
Scrapbookcom
Refillable Permanent Adhesive Runner - 49 feet
Shop at:
Scrapbookcom
New Misti (metal hinges) 8x10 inch
Shop at:
Scrapbookcom
Copic Sketch Marker - B93 - Light Crockery Blue
Shop at:
ScrapbookPal
Copic Sketch Marker - BG11 - Moon White
Shop at:
ScrapbookPal
Inkblot Shop Stamp Set - Grounded
Shop at:
Simon Says Stamp
Copic Sketch Marker E00- Cotton Pearl
Shop at:
ScrapbookPal


#wavingmywand #cascardseries #wavingmywandcascards #cleandandsimple #aallandcreate #inkblotshop #heidiswapp #nottodaysatan #scrapbookcom #scrapbookpal #simonsaysstamp #missinkroad #stencils #stamping #diycards #cascards #masking #coloring #copicmarkers #topflightstamps #wmwcascards


Saturday, October 21, 2017

Halloween and IndigoBlu for Topflight Stamps

I'm happy to be back on the TopFlight Stamps blog, for my second Guest Designer stint.  I'm featuring a brief tutorial here on my own blog, showcasing this spooky Halloween card using IndigoBlu's "Bare Forest 1" stamp for the Anything Goes theme this week.


I love that this 5x4 inch stamp has a built in border which gives the appearance of layers on white cardstock.  It's perfectly sized for an A6 card.


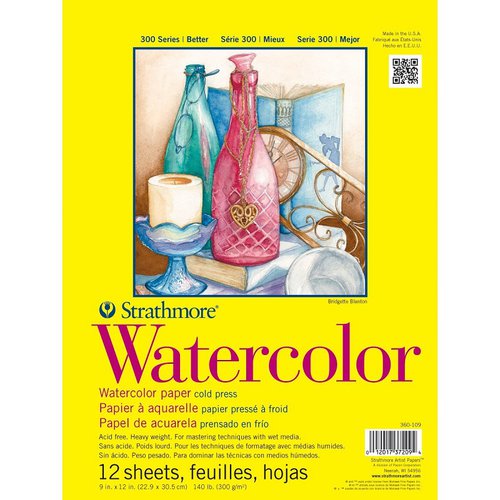
I chose to heat emboss my image using Nuvo Jet Black embossing powder onto Strathmore watercolor paper.  Mixed media paper would work as well.  These are the best types of cardstock/paper to use when blending distress ink.


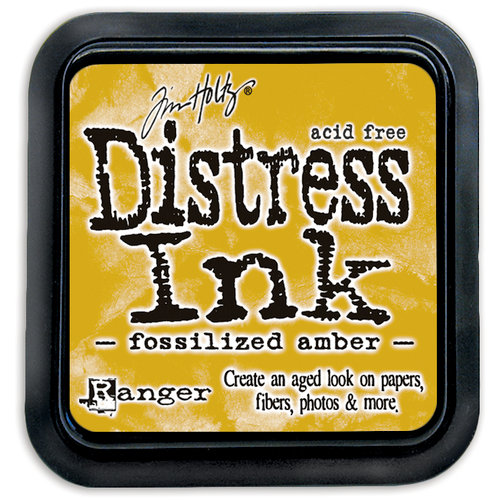
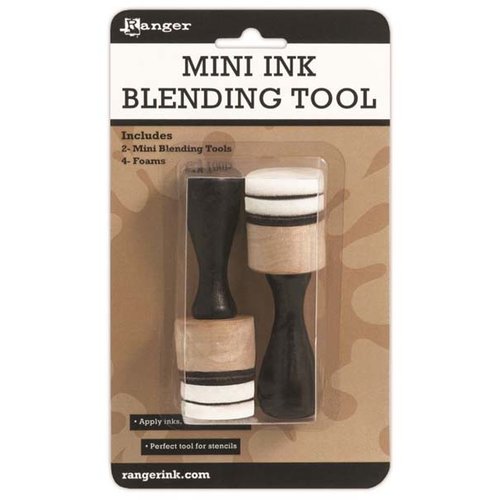
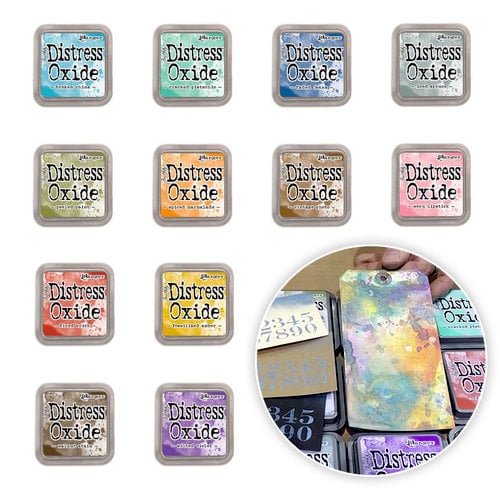
My plan was to leave a white center and build my colors around it.  The white will be the moon's reflection through the trees.  Using Ranger Ink Fossilized Amber and a blender tool, I inked around the inner edges of my border.  Next, I used my Spiced Marmalade and Vintage Photo Ranger Ink oxides, randomly placing color in the same manner.  Splatter with some water droplets if you like, blot with paper towel and heat dry with heat craft tool.  Use a baby wipe or damp paper towel to wipe off any ink from the heat embossed trees.


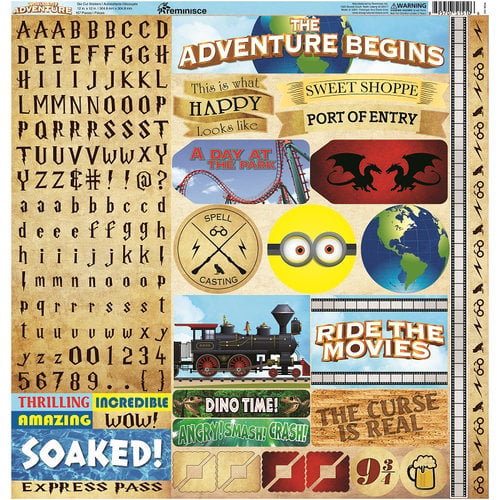
I didn't have any other IndigoBlu stamps that would work with my Halloween theme, so I grabbed some alpha stickers from a Harry Potter themed sticker set that I have, and spelled out "Beware", adding to a black cardstock backing.  I used my Ranger distress tool to distress the edges of the black cardstock.


I incorporated more stickers (Tim Holtz Big Chat, Pretty Little Studio) and some trim, fibers and ribbon to further accent and tie in with my theme.


I thought it would be a nice touch to hand draw some tiny bats flying through the woods, lit by the light of the moon.  Once my panel was finished, I trimmed to the edge of the black border, layered on white cardstock, then layered onto a strip of black cardstock that I trimmed and scored for a top fold.


It has been such a pleasure, working with TopFlight Stamps and these wonderful International stamps from around the world.  Check out all of the IndigoBlu stamps, here.  

Thanks so much to Donna, for having my join in on the fun this month.  Enjoy the season and get crafty!

Terri


Purchase: Bare Forest 1


SUPPLIES

I’m listing the products I used below. Click on the link to go directly to the product. Where available I use compensated affiliate links which means if you make a purchase I receive a small commission at no extra cost to you. Thank you so much for your support!


Strathmore 300 series Watercolor Paper 9 x12 pad
Shop at:
SBC
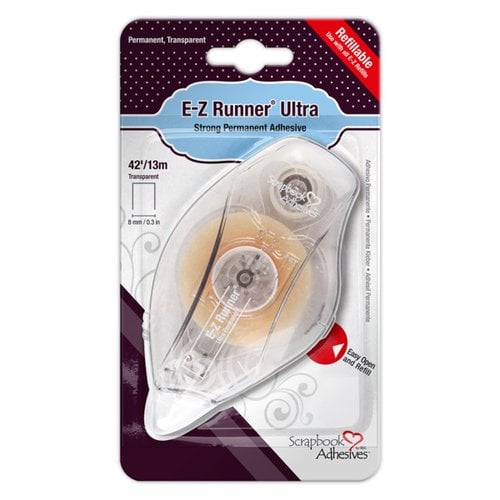
Scrapbook Adhesives by 3L Permanent Runner
Shop at:
SBC
Misti Original
Misti Original
Shop at:
SBC
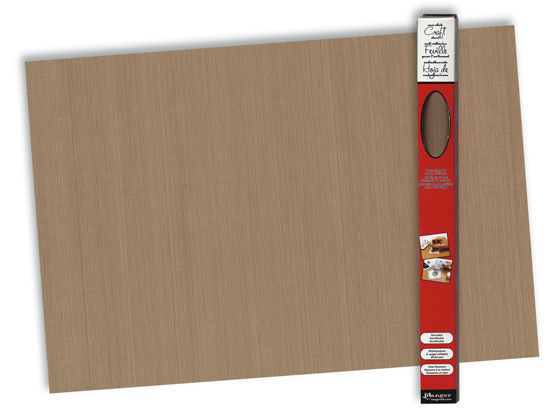
Ranger Inkssentials Craft Mat 15x18
Shop at:
SBC
Ranger US HEAT IT CRAFT TOOL
Shop at:
SBC
Ranger Distress Ink - Fossilized Amber
Shop at:
SBC
Ranger Mini Ink Blending Tool
Shop at:
SBC
RangerInk Distress Oxides Bundle One
Shop at:
SBC
Ranger Ink Distress Oxide Vintage Photo
Shop at:
SBC
Ranger Ink Distress Oxides Spiced Marmalade
Shop at:
SBC
Coredinations 25 sheet pk 110 lb white cardstock
Shop at:
SBC
Gina K Designs Heavyweight Black cardstock
Shop at:
SBC
Scrapbook Adhesives by 3L Foam Squares
Shop at:
SBC
Versamark Clear Watermark Ink mini pad
Shop at:
SBC
Nuvo Embossing Powders
Shop at:
SBC
Reminisce Worlds of Adventure Cardstock Stickers
Shop at:
SBC


#topflightstamps #indigoblu #bareforest #stamps #spooky #halloween #rangerink #distress #oxides #fossilizedamber #spicedmarmalade #vintagephoto #scrapbookadhesivesby3l #wavingmywand #nuvo #tonicstudios #strathmoreart #watercolor #paper #cardstock #Misti #terriburson #timholtz #DIY #cards #cardmaking #papercrafting #papercrafts #halloweencards #bats #forest #moonlight #harrypotter #font #stickers #reminisce #worldsofadventure #universalstudios

Saturday, October 14, 2017

Guest Designing for Top Flight Stamps

I have happy news to share today.  I'm guest designing this month for TopFlight Stamps!  If you're not familiar with this online store, owner Donna Bowman procures stamps from around the world and sells them from her one-stop shop.  International stamps don't have to cost a fortune anymore!  You'll find a nice selection of some of your favorite international stamp companies represented in her store.

For my first project, I've created a 6x6 inch canvas featuring the Carabelle Studio "Loving Thoughts" stamp set.   


Here's the awesome stamp set that I'm using today.  Butterflies are the theme this week.


I've got a tutorial for you as well.  Besides the stamp set mentioned, you'll need:

-6x6 inch gesso board canvas
- Ranger Ink Hickory Smoke distress spray stain
-craft heat tool
-clear gesso (Dina Wakley)
-Mod Podge
-white cardstock
-black dye ink (Memento)
-craft mat
-Nuvo Crystal Drops Bubble Gum and Carnation Pink
-water brush
-Ranger Ink Picket Fence Distress Paint
-DecoArt Satin Multi-surface Cotton Ball paint
-large acrylic block
-fine tipped scissors
-white construction tissue paper
-foam paint brush
-water bottle mister
-paper towel
-small fine tipped paintbrush


1.  To begin, pour yourself a cup of coffee.  If you enjoy a hot cup while crafting, that is.   
2. Grab your clear gesso and spread a thin layer with a foam brush, on your gesso board canvas.  The advantage to a gesso board canvas, over a traditional cloth canvas is, you can stamp on a firm surface.
3.  Allow to dry or speed up the drying process using a craft heat tool for a few seconds.
4.  Spray your hickory smoke distress stain (4-5 spritz) on your canvas.  Make sure you have cleared the area on your craft desk and use a craft mat or large box.  Dry with your heat tool and spray a second layer of hickory smoke stain.  Dry again with your craft tool.  
5.  Take your water mister and spray generously into your hand.  Splatter the water from your hand onto the canvas.  Let sit a few seconds then blot with a paper towel.


Looks a little bit like marble or granite, don't you think?


6.  Load your flower stamp on your acrylic block and stamp with the black dye ink.  To add the faded floral images, do not re-ink but continue stamping in random sections of your canvas.  This is called generation stamping; stamping multiples with one inking.

7.  Pour a tiny amount of Ranger Ink Picket Fence or other white distress paint onto craft mat.  Grab a little of the paint with your waterbrush and paint around your flower buds.  Blot with paper towel when finished.  This will give a light, mottled effect.  Dry with heat tool.


8.  Stamp your sentiment onto white tissue paper.  Additionally, stamp the word "Bloom" onto white cardstock.  This is optional.  Fussy cut around the sentiment with fine tipped scissors and adhere on canvas with Mod Podge, making sure you quickly heat dry the wording first before the Mod Podge, so it doesn't smudge or bleed.  If you wish, fussy cut the word "Bloom" and add on top of the stamped word, covering with Mod Podge.  Dry.

9.  For the butterflies, stamp them as pictured with the black dye ink.  We are stamping first so that the tenticles will not have to be fussy cut later.  Next, stamp your butterflies on white cardstock, fussy cut and adhere with Mod Podge, both under and on top of the butterflies.  Do the same with the leaf petals stamped on white cardstock.

10.  Pour a tiny amount of white Decoart paint onto craft mat.  Use fine tipped paintbrush to paint tiny spots on the flower buds.  I did not do this on the faded floral images.

11.  Completely cover your entire canvas with a layer of Mod Podge.  Dry.  Coat once more and dry.


This was my finished project.  But......


I just couldn't make up my mind if I wanted to leave this monochromatic.  I had that little nagging feeling that I should add a pop of color, so I decided to add tiny drops of Nuvo Crystal drops in 2 different shades of pink to just a few of the buds, not all.  Pink (and the pink ribbon) is symbolized in October for Breast Cancer Awareness Month, here in the USA.  It's a cause that is near and dear to my heart, as my mother and sister have both battled the disease (successfully!).


I really love that little addition of color.  What do you think?  Do you prefer the monochrome colors or the added pink?  I'd love to know which is your favorite.  Tell me in the comments, if you like.


I know I promised a brief tutorial, but I really hated to leave out any steps and the more I typed, the more I remembered!  In actuality, this did not take long to create.  I would say, less than 30 minutes.  


Thanks so much to TopFlight Stamps for having me guest design today! Be sure and visit their blog for more inspiration.  I'll be back next week with another project.  Check out all the products from Carabelle Studio, here.


Make sure you're following Top Flight Stamps on Instagram and Facebook too.  You'll discover frequent sales, contests and more.  Plus, they have a rewards program on the website.  See you next week!


Terri


#topflightstamps #wavingmywand #mixedmedia #canvas #art #carabellestudio #lovingthoughts #floral #flowers #buds #leaves #leaf #petals #rangerink #decoart #paint #hickorysmoke #distress #stain #terriburson #nuvo #tonicstudios #drops #butterflies #butterfly