Showing posts with label sky. Show all posts

Friday, August 15, 2025

Pastel Sky Cards for Erin Lee Creative

Hello lovelies. I have some more cards to share featuring the latest Erin Lee Creative summer release, and I am absolutely loving these dies! I used 3 different die sets (with some glossy cardstock) to create these gorgeous pastel sky cards. Something about these designs gives me a cartoonish feel, which I love. What do you think? Cartoon vibes? Scroll down for details You'll find my clickable shopping/supply list at the end of this post.


 (FTC Disclosure: as an affiliate for various companies in the craft industry, I will receive a small commission for purchases made through my convenient affiliate links, at no additional cost to you.)


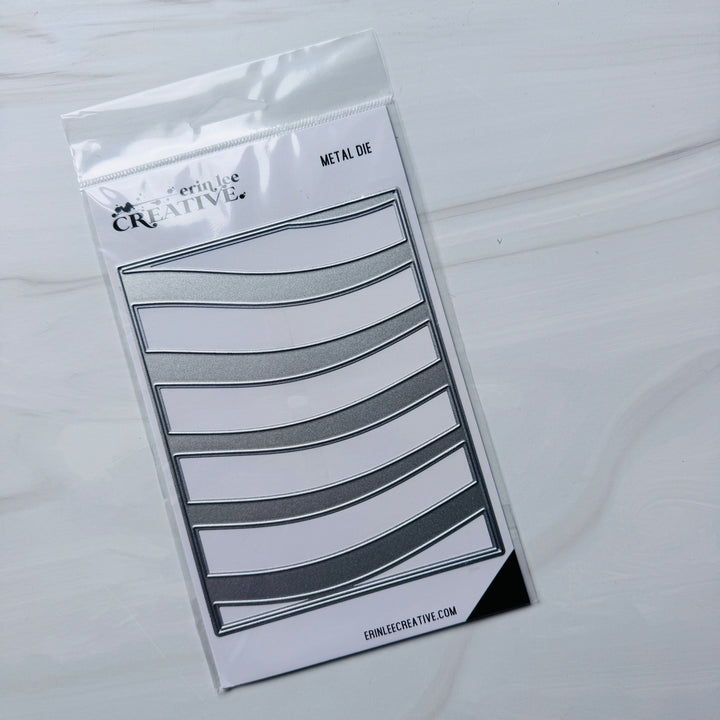
These cards were so fun to make!  I used the new Wave Cover Plate and my Platinum 6 to create the die cuts. It was simply a matter of taking several different colors of cardstock, mixing and matching the different die cuts, and using two of the frame negatives - pink and blue.

I started by swiping adhesive all over an A2 white card panel, then laying down the first negative frame, setting aside the die cut pieces. You can also use adhesive sheets instead, to adhere the frame and die cuts.


I also trimmed the edges of my die cut card panel, once all the colors were adhered and mounted it to an A2 white card.  The card was trimmed just a tad smaller than A2 size, to match my colorful panel.

The glossy cardstock that I'm using is an A2 paper pad from Scrapbookcom. It's been sitting in my stash for a few months, and I thought the colors would be perfect for what I was going for.


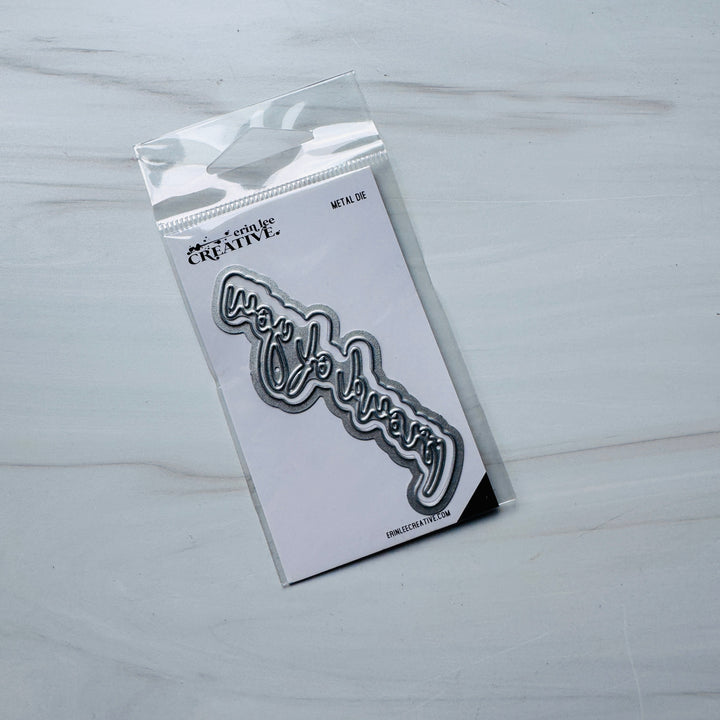
My sentiment is from the new Proud Of You die set. It includes an outline die, however, I opted not to use it as I wanted to place my words on the clouds.

I also decided to create some black die cuts as a staggered backing to my sentiment. I feel like it pops a little more and also lends itself more to the cartoon vibes that I'm feeling.

Since I staggered my sentiment, I decided to also stagger some cloud die cuts. Again, more cartoon vibes, haha! Am I the only one feeling it? I need to hear from some of you!


I wanted both cards to stand on their own a little bit, so for my card further up, I ended up offsetting some of the clouds on the side, trimming off the edge. For the card above, I kept my clouds pretty much centered, as the focal point. Lastly, I glued on some clear sequins for more interest and added sparkle.

I hope this inspires to you to go do some shopping, grab these products, and make all the pretty things! It's possible that once they're gone, they won't be re-stocked, as Erin often does small limited releases.

Thanks so much for stopping by. Tap any of the product brand names below to view more product information or to shop. Have a great weekend!

Terri

****************************
Gina K Designs Heavyweight Black cardstock
Shop at:
Scrapbookcom
Refillable Permanent Adhesive Runner - 49 feet
Shop at:
Scrapbookcom
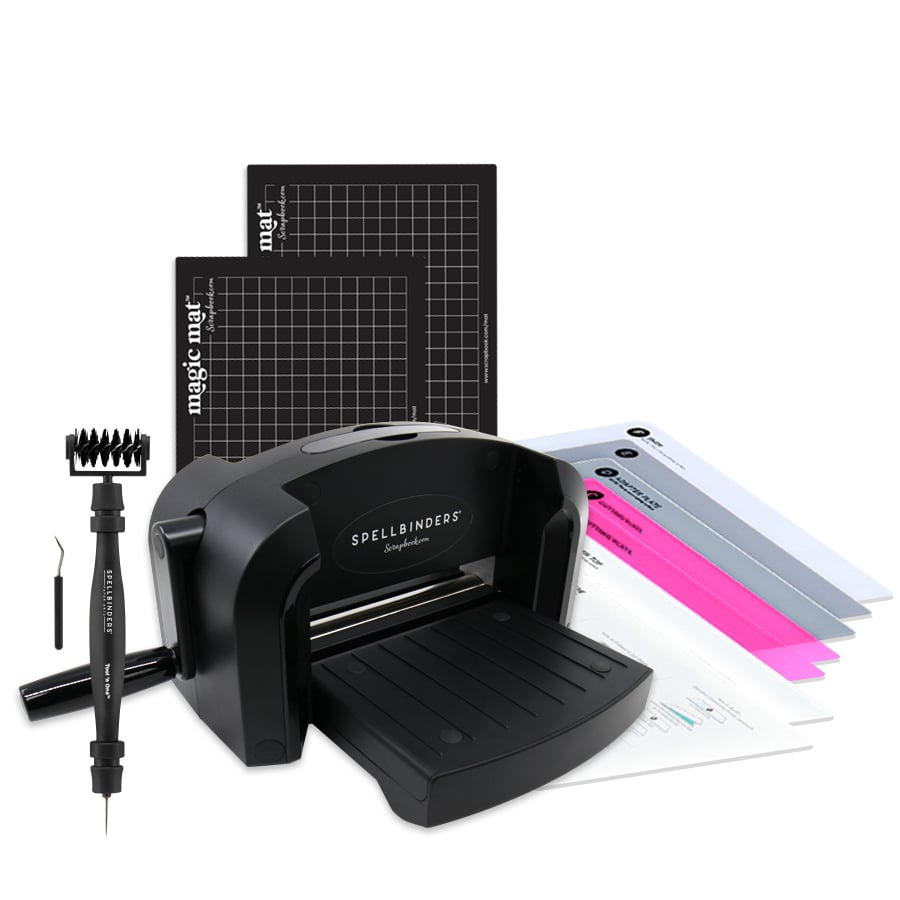
Exclusive Black Platinum 6
Shop at:
Scrapbookcom
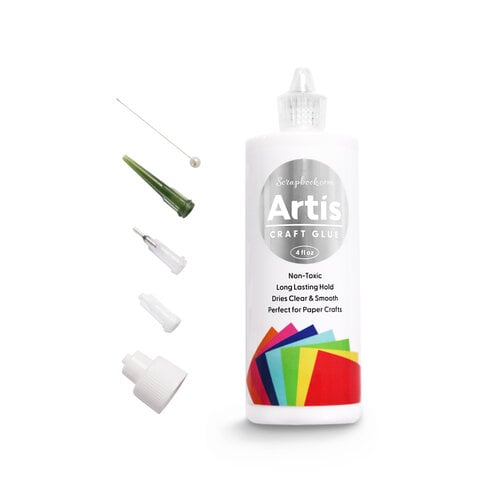
Artis Glue
Artis Glue
Shop at:
Scrapbookcom
Adhesive Sheets 10 pk
Shop at:
Scrapbookcom
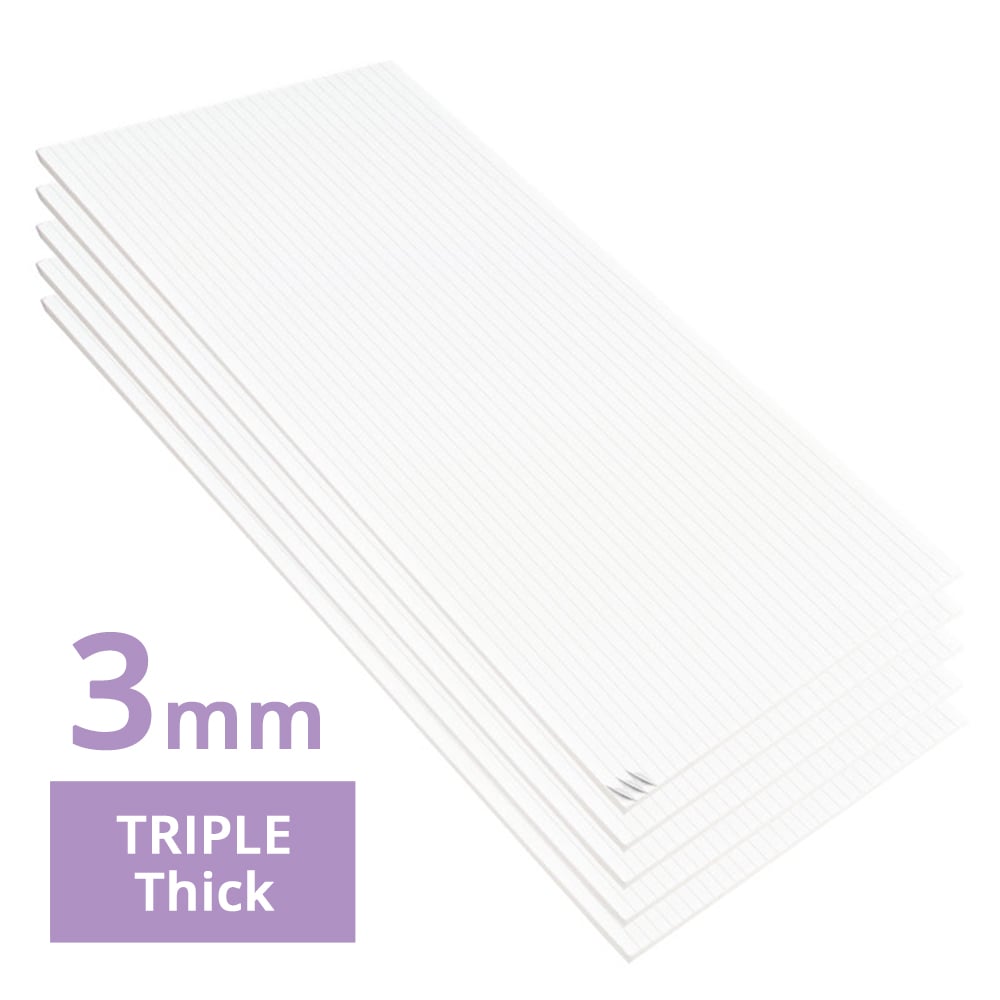
3mm Adhesive Strips 160 ct.
Shop at:
Scrapbookcom
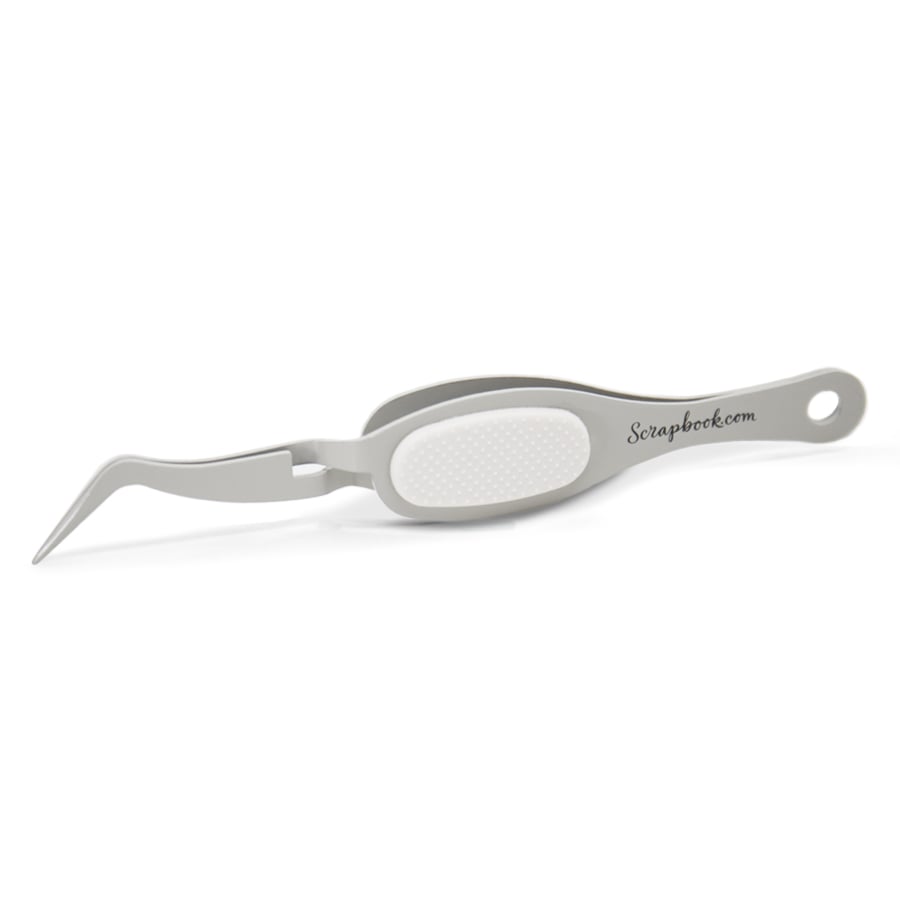
Reverse Tweezers
Reverse Tweezers
Shop at:
Scrapbookcom
White Project Grip Mat
Shop at:
Scrapbookcom
Tim Holtz Comfort Grip Guillotine Trimmer
Shop at:
Scrapbookcom
PhotoPlay Premium A2 Envelopes - 10 pk
Shop at:
Scrapbookcom
Neenah A2 Scored Vertical Cards - 25 pk
Shop at:
Scrapbookcom
ELC Wave Cover Plate
Shop at:
Erin Lee Creative
ELC Cloud Die Set
ELC Cloud Die Set
Shop at:
Erin Lee Creative
Glossy Pastel Cardstock - A2 - 40 sheets
Shop at:
Scrapbookcom
ELC Proud Of You Word Die
Shop at:
Erin Lee Creative
Pink & Main Diamond Confetti
Shop at:
Scrapbookcom


#wavingmywand #erinleecreative #cardmaking #waves #clouds #pastelsky #pastelcolors #proudofyou #cloudyskies #cloudysky #diycards #scrapbookcom

Saturday, December 16, 2017

Christmas Angel Card with Galaxy Sky for Adornit

Christmas is just a handful of days away, and I'm still making Christmas cards.  Today, I'm coloring up a galaxy night sky on this lovely paintable image from Adornit, featuring the Season's Greetings collection, designed by Lindsay Ostrom.


(Please note: as an affiliate for various companies in the craft industry, I will receive a small commission for purchases made through my 
convenient affiliate links.  This does not affect your purchase price.)


Adornit has released several new Art Play Paintable collections and, keeping you in mind, there's something for everyone; seasonal, all occasion, documented faith and more.  You can check out the entire selection of paintables, here.


I love coloring with the cake paints.  This background was so easy to create, simply by dipping your wet waterbrush into the cake paint and swipe random sections of color.  I started with the dark blue's and purples, then added some red and black.  A white gel pen comes in handy for "dotting" stars in the sky.  Just make sure your painted background is dry, first.  The artistic paintables paper is designed to accept many mediums of color.  I've even used waterbased markers and watercolor pencils.


The Seasons Greetings collection comes with 9 images to color and 9 sentiments for mixing and matching.  I chose the Peace on Earth sentiment, coloring with the dark blue/purple paints, but decided to fussy cut the words, so as not to cover up my angel too much.  It was detailed work but I love the outcome.  Of course, you could put the sentiment on the inside of your card as well.  I've trimmed strips of foam tape to pop up my sentiment for added dimension.


Adornit is your one stop shop for Fabric, Boutique Apparel, Coloring, Planners and more.  Be sure and check all that Adornit has to offer!  


SUPPLIES

I’m listing the products I used throughout this post. Click on the link to go directly to the product. Where available I use compensated affiliate links which means if you make a purchase I receive a small commission at no extra cost to you. Thank you so much for your support!


Adornit Art Play Paintables Seasons Greetings
Shop at:
Adornit
Adornit 3 pc Waterbrush Set
Shop at:
Adornit
Adornit Watercolor Cake Paint 4 Tier Set
Shop at:
Adornit
Adornit Magenta Dots 12x12 #80 lb Cardstock
Shop at:
Adornit


#adornit #artplay #paintables #cakepaint #seasonsgreetings #lindsayostrom #scrapbook #cardstock #waterbrush #christmascards #angel #galaxy #nightsky #coloring #paint #peaceonearth #cardmaking #cards #wavingmywand #terriburson #DIY #papercrafts #christmascrafts #scrapbookadhesivesby3L

Friday, June 16, 2017

Peacock Silhouette for So Suzy Stamps

Happy Friday, crafters!  Today, I have a pretty easy and fun to make CAS card, for So Suzy Stamps.  You may not know this about me, but, I used to be terrified of making CAS cards.  Seriously!  I always wanted to add more, more, more and could never discipline myself to stick to the basics; clean and simple, lots of white space.  Some time ago, I decided it was time to conquer my fear and get over it!  So, I did.  I really enjoy the process now and thought it would be fun to showcase Suzy's White Peacock, in a silhouette format.  I love creating skies as well, so I dreamed up this little evening scene.


So, let's get started, shall we?  Here's what you need:

and Herb 1 stamp

- 4 1/2" x 5 3/4" Card (Kaisercraft A6 kraft card, length trimmed to 5 3/4")
- 4 1/4" x 5 1/2"white card panel (Strathmore Mixed Media paper)
- cardstock with 3" die cut circle cut out or 3" circle stencil
- Ranger distress ink (Chipped Sapphire, Mermaid Lagoon,
Tumbled Glass, Fossilized Amber)
- Ranger blender tool
- Misti stamping tool
- water mister
- Memento black archival ink
-Stickles black and crystal glitter glue
*optional stitched large rectangle die and 
die cutter/emboss machine (Cuttlebug)
- Heat Emboss Tool
- paper towel
- black marker
- adhesive runner (Scrapbook Adhesives by 3L)


Awhile back, I took a piece of scrap vinyl, laid it on cardstock and used my Cricut to cut out a 3" circle.  My thought was, the vinyl could easily be wiped clean when using my blender tool for projects like this, plus, the vinyl helps keep my cardstock sturdy so I can use this over and over again.  Basically, It's a large, homemade circle stencil.  Consider that your bonus tip for the day!

1. To begin, stamp and fussy cut just the upper body of the peacock onto thin paper for masking purposes.  Add a touch of adhesive runner and place on project where you want the bird to be stamped later.  


2.  Using a blender tool, blend various blue shades of Ranger distress ink.  I used 3 shades of blue, starting with Chipped Sapphire at the top third, then Mermaid Lagoon below that, and Tumbled Glass along the bottom third, leaving space for Fossilized Amber around the bird.  Dry with heat emboss tool and splatter with water by misting in your hand and spraying droplets with your wet hand.  Wait a few seconds and blot with paper towel.  Dry with emboss tool.


3. Remove the bird mask and carefully, eyeball the placement of your bird stamp.  Use your Misti stamping tool and stamp bird 3 times for full coverage.


4.  Since the black glitter glue can be a bit transparent, I chose to color in my bird with a black marker first (Tombow) before adding the black glitter glue.  I also traced it along the open curves of the tail.  Allow to dry or use the heat emboss tool to speed up the drying process.


5.  Use the herb stamp and Misti stamping tool to partially stamp sections of the leafy stems around the bird and lower portion of the circle.  Stamp 2-3 times for full coverage.


6.  Stamp the sentiment, again with the Misti, stamping 2-3 times for full coverage.  Add Stickles Crystal glitter glue for "stars" by dotting all over your sky.  Allow to dry or use heat emboss tool.


7.  I used the stitched crazy running nesting dies from Stamplorations for my card panel, using my Cuttlebug,  and adhered to the kraft card.  


It may seem like there are a lot of steps to create this, but it really did come together rather quickly.  I hope you'll give it a try.  It's a sweet encouraging card to send to a friend or loved one, to let them know you're thinking of them.  Thanks so much for stopping in today!

You can grab some of the products I used below, using my affiliate links.


Also linking to these challenges:


Purchase White Peacock, here.

White Peacock


Purchase Look For Rainbows, here.
Look for Rainbows


Purchase Herb 1, here.
Herb 1


Purchase the Mini Misti, here.


#sosuzystamps #wavingmywand #watercolor #strathmore #strathmoreart #lookforrainbows #stamps #cards #cardmaking #ranger #rangerink #sky #memento #terriburson #misti #DIY #craft #peacock #whitepeacock #herb #foliage #plant #nightsky #distress #scrapbookadhesivesby3l #stickles #glitter #glue #stencil


Friday, June 2, 2017

Rescuing A Tossed Background With So Suzy Stamps

I'm here today, for So Suzy Stamps, sharing why you should never toss those experimental backgrounds that don't work out.  I'm sure you're like me; you try out some colors, some smooshing, a little this, a little that and you're just not happy with the way your coloring is going.  What do you do?  I can tell you what you shouldn't do, and that's toss it.  You would not believe how many times I've been "not too crazy" about my background and tossed it.  Big mistake!  You never know when inspiration will hit and the old light bulb will go off.  One day, I stopped tossing my backgrounds and started saving them.  Since that day, I have found numerous ways to re-purpose them, from creating fun die cut images, punching circles, or, as I'm doing today, bringing an old background back to life.


Would you believe that I actually intended for this background to be a sky?  I love to watercolor skies but on the day that I was creating this, I just wasn't feeling it, so I put it aside.  I had in mind to flip the Olesya Side Bloom to be more like a water lily and I thought it would also be fun to pull out this background and flip it to use as water for my bloom.  I think it worked out beautifully!


I don't have any photos of how my background was colored, since I've had it awhile, but I can explain briefly.  Grab some watercolor markers, such as Tombow dual brush, Marvy Le Plume or Zig Clean Color brushes, a waterbrush or small paintbrush and water, and watercolor paper.  I use Strathmore 300 series.  Swipe your marker on an acrylic block or craft mat.  Grab the color with a wet paintbrush or waterbrush and just start coloring (painting) random colors here and there.  I usually try to stick with 3-5 colors for a sky; blue, purple, red and/or orange and yellow.  It depends on if my sky will be day or night.  You can vary the intensity of color by using less water.  Let your colors run by tipping your paper.  Blot with a paper towel as needed.  Use your heat emboss tool to dry or dry overnight.


Now, for my blooms, it helps to have a Misti stamping tool, particularly for watercolor paper.  It has a thicker, bumpy texture, so you'll need several good stamps to get a good image.  The Misti allows you to position your stamp on a lid that makes a perfect stamped image every time.  By leaving it in the same position, you can stamp again until you achieve a darker, fuller inked image.  

For my blooms I'm using:

Memento black archival ink
Misti stamping tool
Zig Clean color brushes in gray and two blues

To stamp your blooms, I was careful to use the black Memento ink only on the petals, and swiping my gray Zig Clean color brush on the lower portion that will be "below the water".  Can you see the difference?  I wanted it to appear more translucent below the water.  Both images were stamped twice with my Misti.


Next, I colored my blooms with a blue Zig clean color brush, diluting some of the color with a waterbrush and blotting with  a paper towel.


I also lightly colored those little bubble stamens below water with the same color of blue, again using the waterbrush and blotting with a paper towel.  I used the cornflower blue Zig brush to color at the base of the bloom for added depth.

Next, I stamped my sentiment 3 times with my Misti for full coverage.


Just for some added sparkle, I used my Fireworks spray to add some shine.  It gives a metallic sheen that is so pretty.  I just unscrewed the cap and swiped the tubing from the mister along the petals.


I also swiped some of my Fireworks tubing along the top of my card.  Layer and trim your design on designer paper and an A2 sized white card and you are done!  I used some pretty blue paper from an Echo Park Paper winter collection.  It doubles nicely for summer!


This would make a nice friendship card or even a sympathy card.  Remember, don't toss those backgrounds!  Be sure to visit the So Suzy Stamps blog for more inspiration from the design team.


Purchase Olesya Side Bloom, here.


Purchase Thinking of You sentiment, here.


Also linking to these challenges:


#sosuzystamps #wavingmywand #olesyasidebloom #flowers #floral #bloom #watercolor #strathmore #strathmoreart #thinkingofyou #stamps #cards #cardmaking #kuretakezig #zigcleancolor #summer #spring #water #sky #paint #fireworks #memento #terriburson #misti #DIY #craft