Showing posts with label memento. Show all posts

Tuesday, August 8, 2017

Watercolor Sympathy Card

Today, I'm showcasing this brand new, gorgeous butterfly stamp from So Suzy Stamps, part of the new August release.  I'm pairing it with one of my favorite sympathy sentiments, as well.  I've also prepared a 2 minute video that shows you how to watercolor using water based markers.  Lots of good stuff in store for you today!


But first, if you stopped in from Suzy's blog, I promised a bonus tip on those gorgeous splatters and here it is......

BONUS TIP:  Heat set your watercolor splatters (use a heat craft tool/gun) to get a darker, more intense color.   Do not blot with paper towel.    You can simply swipe your marker on a craft mat, grab your color with a very wet water brush and place the droplets anywhere you like on your card by gently "dotting" your card.  Mixed media or watercolor paper is recommended for water coloring.


Click on my YouTube link below for a speedy quick 2 minute coloring process video.  I would so appreciate it if you would subscribe to my channel and give me a thumbs up on the video.  Leave me a comment, if you like, as well.  You will also find product links under the video description if you'd like to save and shop later.  Shopping links are also available at the bottom of this post.   Thank you so much for stopping in today!


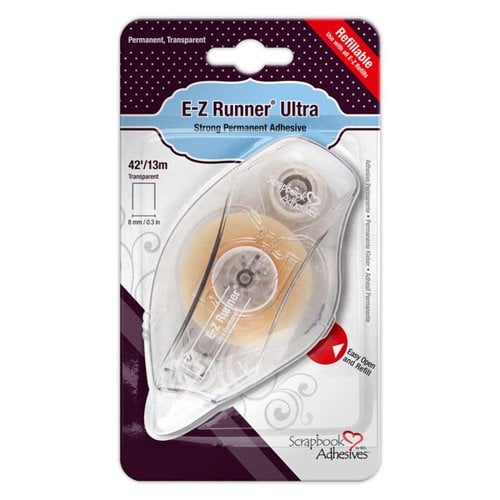
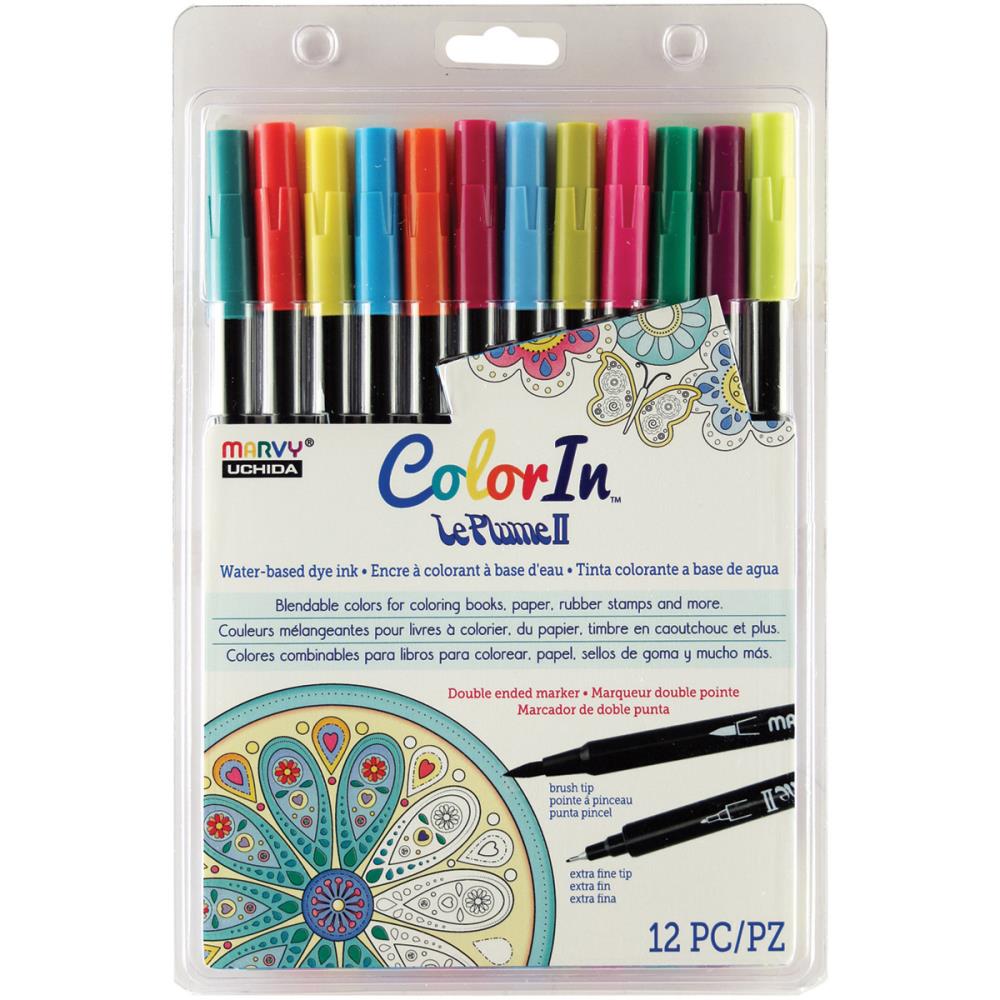
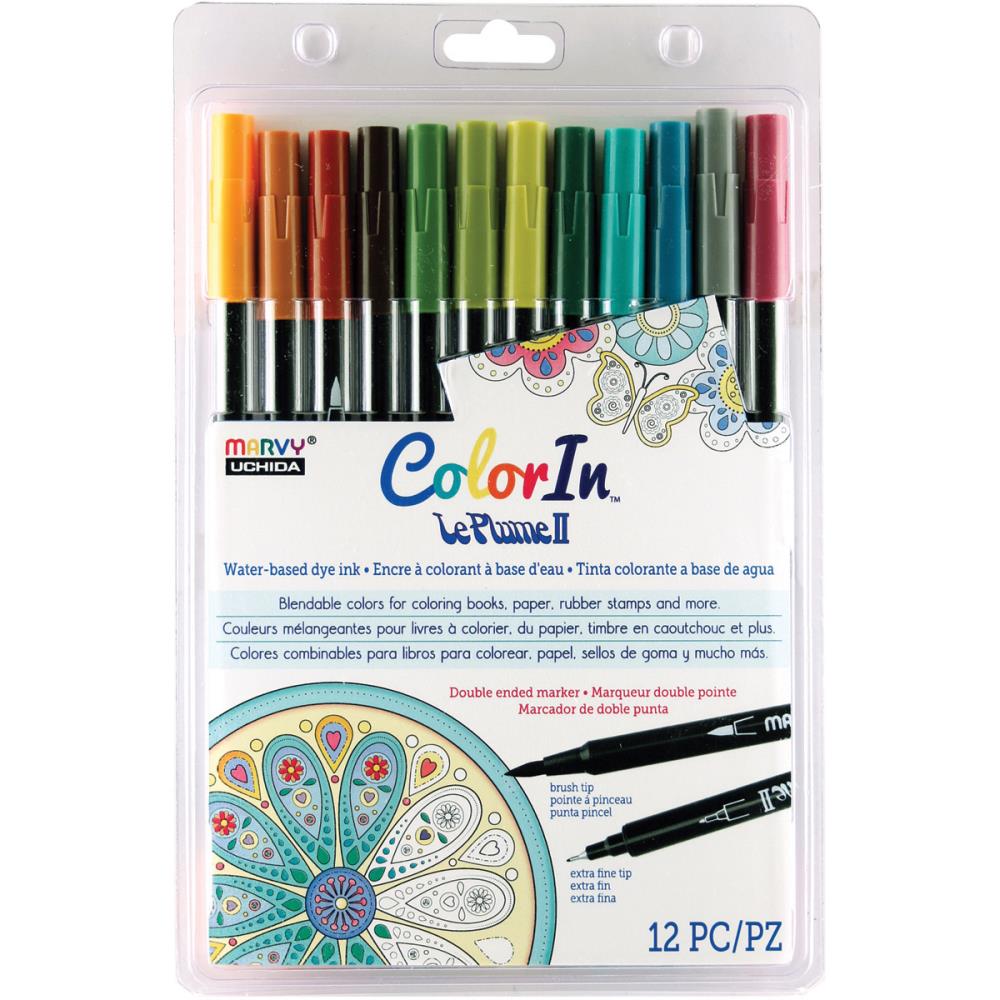
Additional items used for this A2 sized card: Black A2 American Crafts Card, Strathmore 300 series watercolor paper, Spellbinders Celebration Rectangle Die, Sizzix Big Shot, Scrapbook Adhesives by 3L permanent adhesive runner, Marvy Le Plume II Grape, Lemon Yellow and Brown markers, Adornit Water brush fine tip, Memento Black dye ink, Tonic Studios craft mat, white gel pen
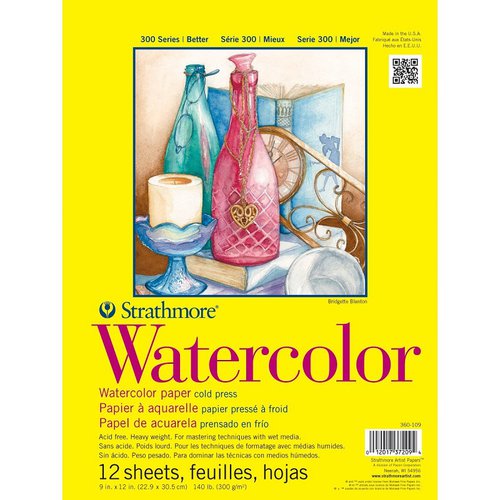


Strathmore 300 series Watercolor Paper 9 x12 pad
Shop at:
SBC | Blitsy | SSS | Amazon
Scrapbook Adhesives by 3L Permanent Runner
Shop at:
SBC
Misti Original
Misti Original
Shop at:
SBC | SSS | Amazon | So Suzy
Spellbinders Pierced Square Dies
Shop at:
SBC
Marvy Le Plume II Bright 12 pk Dual Markers
Shop at:
SBC | Blitsy | SSS
Marvy Le Plume II Natural 12 pk Dual Markers
Shop at:
SBC | Blitsy | SSS
Memento Dye Ink Tuxedo Black
Shop at:
SBC | Blitsy | SSS
Exclusive Sizzix Big Shot Bundle
Shop at:
SBC
Ranger US HEAT IT CRAFT TOOL
Shop at:
SBC | SSS
So Suzy Stamp Deepest Sympathy
Shop at:
So Suzy
American Crafts A2 Card/Env. 12 pc set
Shop at:
Amazon
Adornit 3 pc Waterbrush Set
Shop at:
Amazon
So Suzy Stamps Butterfly Stamp
Shop at:
So Suzy
Tonic Studios Easy Clean 14x14 inch Craft Mat
Shop at:
SSS


#sosuzystamps #wavingmywand #watercolor #butterfly #newrelease #sympathy #terriburson #strathmoreart #marvyuchida #marvy #leplume #tonicstudios #scrapbookadhesivesby3l #adornit #card #cards #DIY #scrapbook #CAS #cleanandsimple #splatters #droplets #video #YouTube #technique #cre8time #crafts #cardmaking #adornit #bigshot #sizzix #Misti 


Friday, June 2, 2017

Rescuing A Tossed Background With So Suzy Stamps

I'm here today, for So Suzy Stamps, sharing why you should never toss those experimental backgrounds that don't work out.  I'm sure you're like me; you try out some colors, some smooshing, a little this, a little that and you're just not happy with the way your coloring is going.  What do you do?  I can tell you what you shouldn't do, and that's toss it.  You would not believe how many times I've been "not too crazy" about my background and tossed it.  Big mistake!  You never know when inspiration will hit and the old light bulb will go off.  One day, I stopped tossing my backgrounds and started saving them.  Since that day, I have found numerous ways to re-purpose them, from creating fun die cut images, punching circles, or, as I'm doing today, bringing an old background back to life.


Would you believe that I actually intended for this background to be a sky?  I love to watercolor skies but on the day that I was creating this, I just wasn't feeling it, so I put it aside.  I had in mind to flip the Olesya Side Bloom to be more like a water lily and I thought it would also be fun to pull out this background and flip it to use as water for my bloom.  I think it worked out beautifully!


I don't have any photos of how my background was colored, since I've had it awhile, but I can explain briefly.  Grab some watercolor markers, such as Tombow dual brush, Marvy Le Plume or Zig Clean Color brushes, a waterbrush or small paintbrush and water, and watercolor paper.  I use Strathmore 300 series.  Swipe your marker on an acrylic block or craft mat.  Grab the color with a wet paintbrush or waterbrush and just start coloring (painting) random colors here and there.  I usually try to stick with 3-5 colors for a sky; blue, purple, red and/or orange and yellow.  It depends on if my sky will be day or night.  You can vary the intensity of color by using less water.  Let your colors run by tipping your paper.  Blot with a paper towel as needed.  Use your heat emboss tool to dry or dry overnight.


Now, for my blooms, it helps to have a Misti stamping tool, particularly for watercolor paper.  It has a thicker, bumpy texture, so you'll need several good stamps to get a good image.  The Misti allows you to position your stamp on a lid that makes a perfect stamped image every time.  By leaving it in the same position, you can stamp again until you achieve a darker, fuller inked image.  

For my blooms I'm using:

Memento black archival ink
Misti stamping tool
Zig Clean color brushes in gray and two blues

To stamp your blooms, I was careful to use the black Memento ink only on the petals, and swiping my gray Zig Clean color brush on the lower portion that will be "below the water".  Can you see the difference?  I wanted it to appear more translucent below the water.  Both images were stamped twice with my Misti.


Next, I colored my blooms with a blue Zig clean color brush, diluting some of the color with a waterbrush and blotting with  a paper towel.


I also lightly colored those little bubble stamens below water with the same color of blue, again using the waterbrush and blotting with a paper towel.  I used the cornflower blue Zig brush to color at the base of the bloom for added depth.

Next, I stamped my sentiment 3 times with my Misti for full coverage.


Just for some added sparkle, I used my Fireworks spray to add some shine.  It gives a metallic sheen that is so pretty.  I just unscrewed the cap and swiped the tubing from the mister along the petals.


I also swiped some of my Fireworks tubing along the top of my card.  Layer and trim your design on designer paper and an A2 sized white card and you are done!  I used some pretty blue paper from an Echo Park Paper winter collection.  It doubles nicely for summer!


This would make a nice friendship card or even a sympathy card.  Remember, don't toss those backgrounds!  Be sure to visit the So Suzy Stamps blog for more inspiration from the design team.


Purchase Olesya Side Bloom, here.


Purchase Thinking of You sentiment, here.


Also linking to these challenges:


#sosuzystamps #wavingmywand #olesyasidebloom #flowers #floral #bloom #watercolor #strathmore #strathmoreart #thinkingofyou #stamps #cards #cardmaking #kuretakezig #zigcleancolor #summer #spring #water #sky #paint #fireworks #memento #terriburson #misti #DIY #craft

Monday, August 29, 2016

Nautical Encouragement for Two Paper Divas + Big Sale!

The August release is still in full swing at Two Paper Divas Stamps and to top it off, they're having a big sale, to boot!  Check out the What's New section to see all 45 stamp sets for Fall, Halloween and Back to School, that are on sale and already marked at the sale price of 30% off the retail price.  Hurry though, the sale only runs until the September release which begins Sept. 6th and 7th.

Today, I'm sharing another card that I've made with the Anchors the Soul stamp set.  This is such an encouraging sentiment for anyone who needs a little lift in their spirits.


To make this card, I stamped my anchor in Memento London Fog ink and dried it quickly with my heat embossing tool, then stamped my sentiment in Ranger Black archival ink and quickly sprinkled with clear embossing powder, tapped off the excess and heated with my embossing tool.  If you have problems with your stamped sentiments not standing out on your projects, give clear embossing powder a try.  It really makes it stand out and gives added dimension,

I like the look of my sentiment on top of the anchor too.  Using a neutral shade for the anchor is key and really, you don't need to do anything else to this pairing.


I wanted to accent my anchor theme so I broke out my pliers and cut a piece of chain to drape across my card, hot glued just under the backside of my frame, then hot glued my buttons from Laura Kelly Designs and Buttons Galore, to pull it all together.   My papers are from the DCWV Hey Sailor collection and the fishnet stenciling is from The Crafters Workshop, called "Nautical Chain".


Purchase Anchors the Soul, here.


Visit the Two Paper Divas Blog for daily project inspiration and on Wednesdays for the Design Team Roundup.  Check out the newest release right here:


Shop Two Paper Divas for a wide selection of clear stamps, digital stamps and accessories.

Additional Supplies:
May Arts Ribbon Open Weave burlap ribbon
Spellbinders Celebrations dies
Sticky Doos foam circles
sponge dabber


#twopaperdivas #tpdstamps #anchor #anchorsthesoul #nautical #encouragement #card #craft #scrapbook #stamps #dcwv #heysailor #TCW #stencil #thecraftersworkshop #chain #buttons #buttonsgalore #laurakellydesigns #blackandwhite #memento #rangerink #burlap #netting #fishnet #wavingmywand #terriburson #diy #cre8time #ribbon

Wednesday, February 24, 2016

Birthday Challenge Week 2 at DoubleClick Skittles

 Welcome to the DoubleClick Skittles Challenge! It's week 2 of a brand new challenge!

Welcome to challenge #42 at DoubleClick!!

Dates: February 17, 2016 - March 1, 2016

Challenge: Birthday


For my project today, I've colored up a CAS card, using stamps from the Spellbinders Celebration set, "Your Day".   I don't think I've ever inked up this little guy, so it was the perfect time to do so, for a fun boy birthday card.


I added some washi tape and placed my Skittles on top as a fun, blingy accent.  My Skittle colors are Stream and on of my favorites because it's such a deep blue.
 

 Have you checked out all the Skittle Color choices? You can view them all HERE!


A 3 pack is typically under $4.00 (75 skittles) and this includes FREE USA SHIPPING, plus, Paypal is accepted.  You're supporting small business and products made in the USA, when you purchase Skittles.  Each batch is handmade, by Carri.
Don't forget, the 2015 Dual Holiday Release, Frosty Kisses and Holiday Traditions are still available.


Join the "Birthday" challenge and be entered for a fun prize that includes free Skittles, but be sure and read the rules, as backlinking is not allowed.  Skittles are not required to play so come on... link up and come and play with us!


Thanks for stopping by!

Terri


Additional supplies:
Zig Clean Color brushes
We R Memory Keepers Washi Tape
DCWV A2 Card
White gel pen
Tombow Mono Aqua Glue
Ranger Black archival Ink
Memento London Fog ink
Marvy LePen black ultra fine point


#doubleclickskittles #dewdrops #cleardroplets #colordroplets #skittles 
#diy #homedecor #craft #cardmaking #scrapbook #papercrafters
#cre8time #madeintheusa #supportsmallbusinesses #frostykisses 
#christmas #frosty #mayartsribbon #ribbonresource #card #tombow #stream#watermelon #birthday #celebration #party #birthdayparty #birthdaycard #spellbinders #elephant #washi #washitape #CAS #wermemorykeepers #WRMK #tombow #tombowusa

Thursday, January 14, 2016

Happy Mail Envelopes for Two Paper Divas

My design team project for Two Paper Divas this week, involved one of those "aha" moments.  The new stamp set "Sunshine and Smiles" was just released this month, and looking at that sentiment, I thought it sure would be perfect for happy mail envelopes.  Decorating envelopes and packages with "happy mail" stamps and decorative images is super hot right now.  Take a peek at my trio below and I'll share a few tips on how these were made.....


I started by stamping the sentiment in two parts, using washi tape to mask the parts of the stamp that I wanted to hide. 


I used the same masking technique for the flowers, adding a strip of washi tape along the edge of one side of a stamped flower image, then partially stamping another flower.  Super easy.  Next, I started coloring with Tombow markers.


Here's a close-up, each one is different.  I used a white gel pen to add circles, polka dots and to enhance my colored flowers.


I used the same masking technique for stamping the leaves as well.


This is a great idea to dress up an envelope if you're mailing a letter or card to a pen pal.


Visit the Two Paper Divas Blog and take a look at some of the projects featured today, then check back each day for more project inspiration by the design team.  


Shop Two Paper Divas for a wide selection of clear stamps, digital stamps and accessories.


Supplies Used:
Memento London Fog Archival Ink
Ranger Black Archival Ink
Tombow Dual Brush pens
White Gelly Roll pen


#twopaperdivas #wavingmywand #newrelease #stamps #stamping #digital #digitalstamps #sunshineandsmiles #ranger #diy #cardmaking #scrapbooking #crafting #homedecor #cre8time #tombow #memento #ranger #tpd #happymail

Friday, December 5, 2014

Christmas cards and Girl Scouts

Last night, I spent my evening with some fun girls; the Girl Scout troops of Heflin, AL.  These lively girls were from Troops 20240, 20112 and 20263 and included Juniors, Cadets, Brownies and Daisys.


We had so much fun making Christmas Tree cards and Ornament cards and they did such amazing work!  My scrappy friend Nancy Hilton came along to help and between the two of us, we were hopping from the get-go. 


I wish I'd gotten a close up of one of their cards because they really were amazing. 
We glued, cut, stamped, glittered.....you name it. 

I'm not sure what was the most fun but they really seemed to love stamping.  Girls after my own heart!  I brought along the Unity Stamp Kit, "Like A Snowflake" so they could stamp snowflakes in the sky above the trees.


They were so proud of their work too. 

.                                               

I'm looking forward to being invited back again for another crafty project.  
Merry Christmas, girls!  

. I'll be sharing this project with the Unity Friends with Flair challenge, found here:  


and the simon says Stamp Christmas holiday Challenge found here:


Additional Supplies: Elmers glue sticks, American Crafts adhesive glitter tape, Christmas designer paper including K & Company, Memento London Fog inkhttp://www.simonsaysstampblog.com/wednesdaychallenge/simon-says-christmas/

Tuesday, November 25, 2014

Grinch Christmas card

If you're a fan of The Grinch Who Stole Christmas, then you are well familiar with this quote, which Kaisercraft made into a wonderful Christmas stamp.  I'm breaking in this "Grinch" stamp called "Christmas Feeling" and also my new Tombow Dual brush pens, which by the way, I'm already in love with.  They color so smooth!  I free-handed the Santa hat and colored in with my Tombow green marker from the Bright pen set.  To stay inline with the Grinchy green theme, I colored the white glitter ribbon on the Santa hat as well as the snowflakes, which are from the Unity Stamp "Like a Snowflake" sentiment kit.  Then, a touch of Wink of Stella glitter pen in Clear on those snowflakes as well.  The mini pom pom on my Santa Grinch hat is from May Arts Ribbon, my absolute favorite ribbon maker!  I stamped the inside of my card with a Christmas sentiment in Powder Puff green ink and then guess what?  Yup, the ink fell in my lap.  Crafter's Essentials wipes to the rescue!  Not only did they clean up my inky stamps perfectly, but they cleaned up my legs as well.  #grin  


Merry Christmas and have a wonderful Holiday season!


Additional Supplies: Memento London Fog ink, Ranger black ink, Marvy Le Pen black, American Crafts green adhesive glitter ribbon, Tombow Xtreme adhesive runner, Quick Quotes Powder Puff chalk ink Parrot green

#Christmas #Grinch #Cre8time

Friday, November 21, 2014

Snowflake Shaker card

 It's Friday again!  Whoop!  Luckily I was able to work in some crafty time last night, so I whipped up this sweet snowflake shaker card using the new Unity Stamp Co sentiment kit, "Like a Snowflake".  (Oh my goodness, I love this kit!  It's on sale right now.  Go get one!)  I stamped the white card all over with different sized snowflakes with Memento London Fog ink, utilizing the generation stamping technique of multiple stamps with just one inking. 


The gorgeous clear, charcoal and red sequins are from Pretty Pink Posh and the Black chevron twill ribbon and white "snowball" ribbon is from May Arts Ribbon.  Everything is held together with my Tombow Xtreme adhesive runner.  If you look closely, you'll see that I did some paper piercing using my Stamper's Secret Weapon.  You can't tell from the photo, but I used Wink of Stella clear glitter ink over every single snowflake.  It's so pretty in person!  I'll be entering this card into the Unity Friends with Flair challenge today as well as their monthly Be Inspired Challenge. 
Have a great weekend!


Additional supplies: Fiskars square page punch, Martha Stewart Christmas designer paper, Ranger black archival ink, Sticky Doo's pop squares


#mayartsribbon #unitystamps #tombowusa #Cre8time #christmas

Tuesday, July 1, 2014

Silhouette Wedding card

Here's a quick wedding card I made with the Unity Stamp kit Insightful Meadows by Donna Downey and sentiments from the LIVE LAUGH LAUGH kit by Samantha Walker.  I've got another wedding coming up and had in my mind exactly what I wanted to do: silhouette flowers embossed with black powder.  

Once I embossed the flowers, I stamped again for a shadow effect, just to the left in gray ink.  Let me tell you, I wanted to add ribbon and bling and more crafty stuff...I literally made myself stop.  You have no idea how HARD it was!  But I really tried to keep it simple and elegant and I think I succeeded, even if I had to talk myself down several times.  Ha!  

The pictures below show the inside also where I used die cut frames and most of the items used are also pictured.  This was a fun one to make, aside from cuffing my hands together to stop.....  #grin. (Oh wait...the butterflies...fussy cut from We R Memory Keepers Inked Rose pad and colored with distress markers) 


Additional Supplies: 
Colorbok Poolside DP, The Paper Studio heat tool, Versamark ink, Tim Holtz distress markers in Salty Ocean and Ripe Persimmon, The Paper Studio Damask paper, Cuttlebug, Zing embossing powder, Stickles stardust glitter glue, Memento London Fog ink and black luxe ink